New Zealand South Island Itinerary – 10 Days in a Camper Van
New Zealand South Island Itinerary
We recently returned from an epic holiday around New Zealand’s South Island! Driving and living in campervan for 10 days was unlike any holiday we have taken. I loved the flexibility of parking our “apartment” almost anywhere to cook, take naps, and go to the bathroom. We camped overnight in some stunning locations that are far removed from hotels and Airbnbs. The close quarters of the van and daily driving occasionally tested our patience, but in the end, campervanning is the best ways to see New Zealand in a short period of time. Here are the details on a truly amazing New Zealand South Island Itinerary, with our stops, favourite short hikes, and where we slept each night.
 Day 0 – Land in Christchurch at 11pm
When booking our flights, we focused on price and booking with Qantas points. Departure time was a secondary input. The benefit, we paid a little over $400 for our three return flights from Sydney. On the downside, we booked an early evening flight from Sydney to Christchurch. The early evening quickly became late evening, after a three-hour flight and two-hour time change. It was 11pm when we landed in Christchurch.
As we read on other travel sites, quarantine in New Zealand is extremely serious. We did not pack our normal travel snacks of fruit, nuts, and seeds because we thought we might have to give it up at customs. Our hunch was confirmed by the bag scanners and sniffer dogs – even approaching midnight! We wore our hiking boots on the plane so they would be able to inspect them without any unpacking, and made our way through to the exit in 30 minutes or so.
Stay at Sudima Airport Hotel
A modern, clean, well-equipped hotel, Sudima provided us with everything for our 10 hour stay! The business hotel offers 24hr airport shuttle pick-up, and is only 5 minutes away from both the airport and camper rental lot. We actually considered walking in the pleasantly cool night air, but packed a few too many bags. Sudima perfectly fit our needs for the night, and it was nice to rest up before grabbing the camper van.
Day 1 – Christchurch to Moeraki Boulders
In the morning, another complimentary hotel shuttle drove us to the nearby THL campervan rental agency to pick up our Maui Ultima Plus (Mercedes Sprinter body). We will follow up later with our full list of tips for campervan rental, but arriving at opening (8am) expedited the check-in process considerably. Also note that Maui, Britz and Mighty Campers offer a complimentary shuttle from Christchurch airport as well. For more information, read the “Transfer” section on this page.
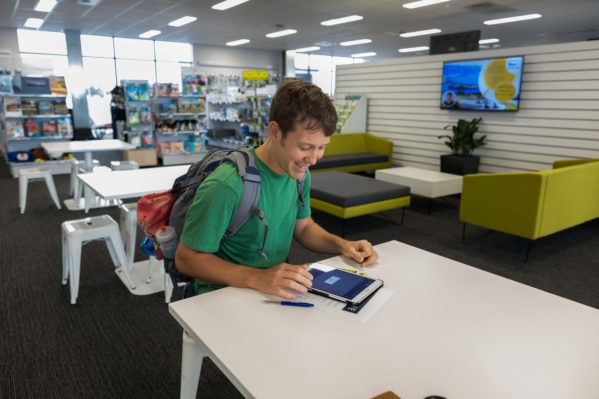
We got the car, met a new friend for an inspiring breakfast conversation, and bought groceries for the next few days. I am very happy that I thought ahead and made a grocery list before we left home. In our tired, overwhelmed state, it was much less stressful to just go down the list. No need to think through the logistics of how we would eat with minimal dishes, no oven, and a mini-fridge. The Countdown grocery store near the airport caters to camper vans, with a row of extended parking spots. This was nice for our first attempt at parking. We appreciated the parking more, after visiting a super center down the road. JZ gave up, and waited in the truck loading area.
With a slow morning, we officially hit the road around noon. We did not venture into downtown Christchurch, but instead went south towards Otago.
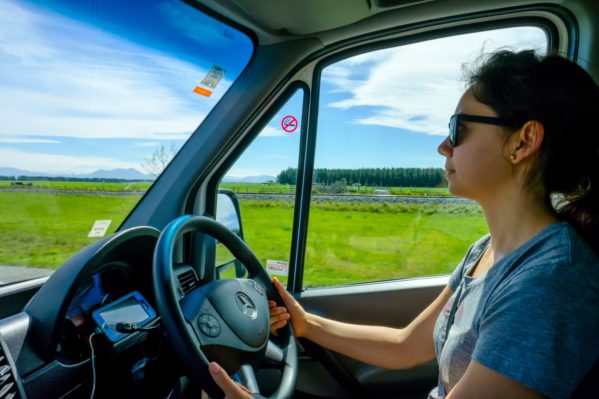
Surviving a couple hours next to an alternating happy/ bored/complaining/screaming CZ, I decided to drive. I put off driving on the left side of the road for 2 years, but happily traded CZ’s playlist for the steering wheel. Driving on the left side proved as I expected, a bit disorienting, but otherwise doable. It helped that I was not navigating the streets of urban Sydney, and instead continued straight on a two lane country highway for 100km.
Stop at: A rest stop on Highway 1 before Waitaki River Bridge
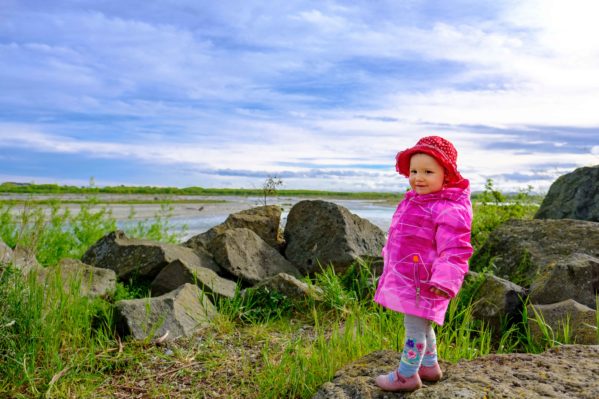
Our favourite stop of the day: A rest stop along Highway 1 before crossing the Waitaki River Bridge (here is the Google Map link). We wandered down to the river for rock throwing, admiring the mountain scenery, and breathing the cool crisp air. It’s nothing terribly special – by New Zealand standards. I wouldn’t go out of your way to stop, but we welcomed the opportunity to get out of the car, walk around, and stick our hand in the glacial water. I think the area is approved for freedom camping, so you could spend the night there as well.
Stay at Moeraki Boulders Holiday Park
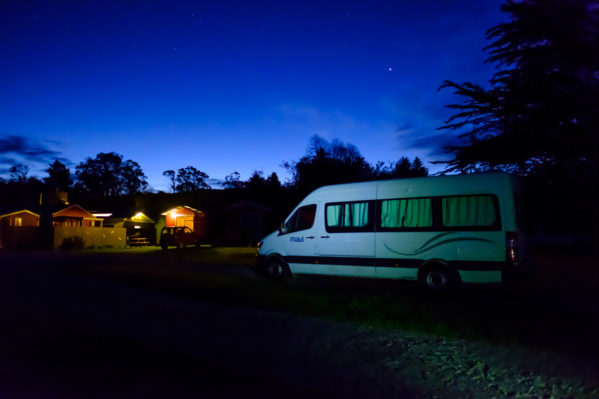
After about 3 hours of driving, we pulled into the holiday park, exhausted and a bit bedraggled. Thankfully, the campground at Moeraki Boulders is warm, friendly, and inviting. Looking back, JZ and I decided it was our second favourite paid spot (behind Milford Sound). The facilities are clean and well stocked. Moreover, the family that runs the park graciously eased us into campervan life. While not technically in Moeraki, the boulders are only a 30-45 minute walk down the beach. CZ delighted in the play area, and played with several ducks and geese on the property. She offered her shoe-clad feet for nibbles, which they enthusiastically accepted – and she quickly rescinded.
Day 2 – Moeraki to Riversdale
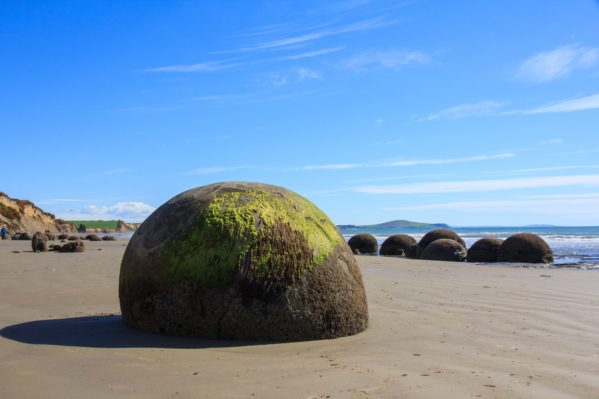
Breakfast included the staples: oats, bananas, and coffee. The original plan included sunrise at the boulders, when the colors are most intense and captivating. However, reality interfered with this plan in two ways:
- We did not factor in the two hour time difference from Sydney to Christchurch plus our late evening flight and early morning van pick-up. That combination created a weirdly energetic zombie-like state upon arrival at Sudima. We managed to sleep, and then woke up at 7:30am (our 5:30am) after CZ screamed and moaned her way through the night. The point is, we needed sleep.
- Sunrise did not correspond with low tide. All of the boulders are visible at low tide, but only a few are visible during high tide. The ideal time to visit is when sunrise hits before or after high tide so you have a bit of water swirling around the boulders. Thankfully Alex, the caravan park host, saved us from an exhausted and disappointing start to day 3.
Instead, we slept in, enjoyed breakfast and showers at the camper van park, chatted with the owners, and headed out for the boulders around 10am. They insisted that we skip the paid parking on the left, and instead continue down the road to the DOC parking lot. We very likely would have been enticed to follow the giant sign to Moeraki boulders, but instead took the locals route and appreciated our free parking.
Moeraki Boulders
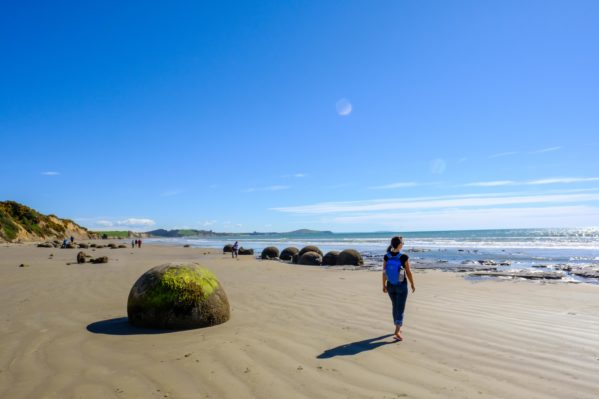
The boulders are mostly a tourist-only attraction, but they are quite compelling. Huge and spherical boulders covered with vibrant green moss and orange algae (perhaps?) dot the beach. The cracked open rocks fascinated us as much as the intact boulders. (JZ Note: They are natural cement, and the Maori legend is that they are from an ancient canoe wreckage that is now Shag Point.) We spent about an hour here, in total. Without cameras, tripods, and neutral density filters, this unique sight is a bit quicker. With our first New Zealand bucket list item checked, we turned off for a bumpy drive along Lighthouse Rd.
Penguin Rescue Center and Katiki Point Lighthouse
On this drive we glimpsed our first slice of “real” New Zealand. Rolling green hills, pastures, and the glint of a calm blue waters serenely passed us on both sides. Lighthouse Road twists and turns through private farms to dead end at the Penguin Rescue Center and Katiki Point Lighthouse. We arrived at noon, ate a quick snack, and hiked down the beach.
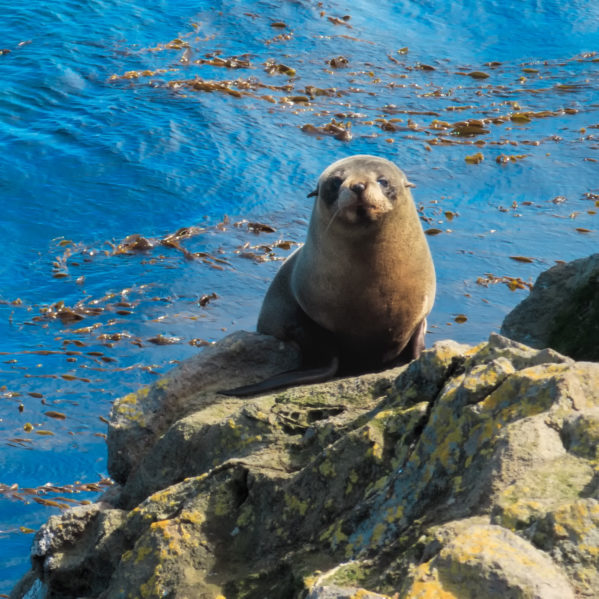 The penguins are most active at dawn and dusk, therefore we missed out on any penguins waddling around, but still saw several seals laying about and sleeping. The point is gorgeous, even without the wildlife. The uninterrupted blue water meets with the lush green plains creating an idyllic scene. There are no resorts, beach homes, or anything else commercial in sight. The natural scene imbues peace.
CZ thankfully slept most of the drive from Moeraki to Dunedin. However, the rain suddenly poured down on us as JZ ran to fill up gas. CZ and I grabbed for groceries, and we mapped our next move. With rain forecasted for a couple of days, we decided to bypass Dunedin and the Otago peninsula. The forecast also included a rare spot of sun in Milford. We followed the advice of a fellow traveller, and “chased the sunshine” towards Milford Sound and Fiordland National Park.
Stay at a freedom camping site along Highway 94 – Riversdale
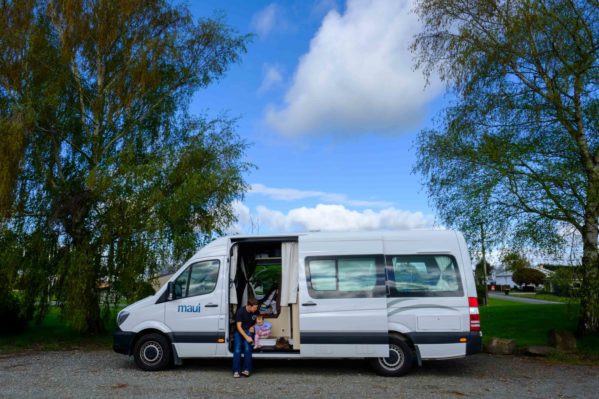
We paused for dinner, put CZ “to bed” in her carseat and continued to drive into the dark. We drove until we could drive no more toward Milford Sound. Many small towns have parking lots/picnic areas available for self-contained campers to stay overnight. I pulled out Campermate and Rankers, but the apps lack information in these less scenic areas. We surveyed the signs and finally pulled over in the tiny town of Riversdale, the only reliable listing, to sleep for the night.
I didn’t think much of this location at night, but in the morning the trees, flowers, and blue skies pleasantly surprised me! Another bonus point for a playground next to the parking area, which CZ loved having to herself.
Day 3 – Riversdale to Milford Sound
Knowing a long drive remained to reach Milford Sound, we called ahead to book our accommodations for the night. We stopped at Te Anau before entering the park for groceries, water, and fuel. Te Anau is the gateway to Milford Sound and the last town before entering the National Park. I highly recommend stopping for groceries before reaching Te Anau as the options are extremely limited and very expensive.
While in Te Anau, we briefly paused at the park visitor’s center for a detailed map, and received awesome hike suggestions! Depending on when you travel to Milford, driving conditions will vary widely. Read the DOC’s recommendations for travelers when planning your trip, and leverage the local expertise of the staff at the visitors center.
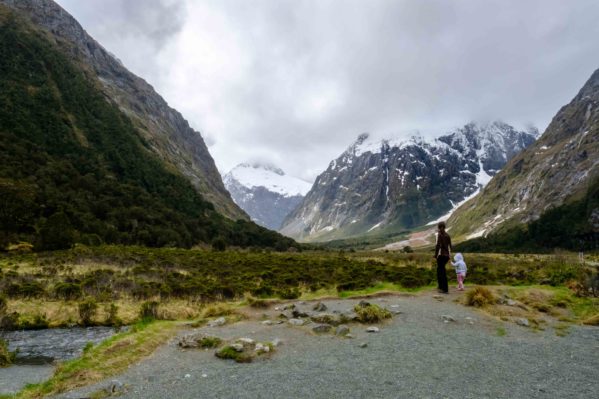
Driving 128km through Fiorland National Park to Milford Sound is quite the experience. I imagine it would be just as thrilling to inch closer to the dramatic landscape in one of the many tour buses, but we appreciated the freedom to stop and hop out of the car to wander and photograph the unusual and beautiful landscape. Do keep in mind that most tour buses leave Te Anau between 9am-10am so the roads and scenic points will be more congested during this time, especially in peak season, November to February.
Viewpoints in Fiordland National Park
The steady, light rain kept us tethered to the car, but we couldn’t resist pulling over at several scenic lookouts.
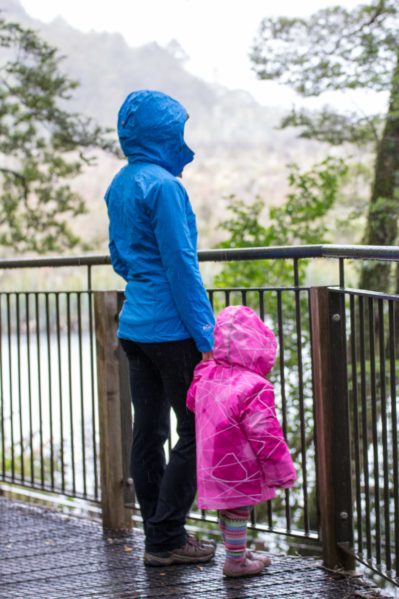 Mirror Lakes – Renown for epic mountain reflections, these lakes offer an awesome opportunity for photography. When we pulled over, the rain fell quite heavily so we missed out on any reflections! We still appreciated the opportunity to stretch our legs on the short wooden ramp, and watch the ducks fishing in the rain.
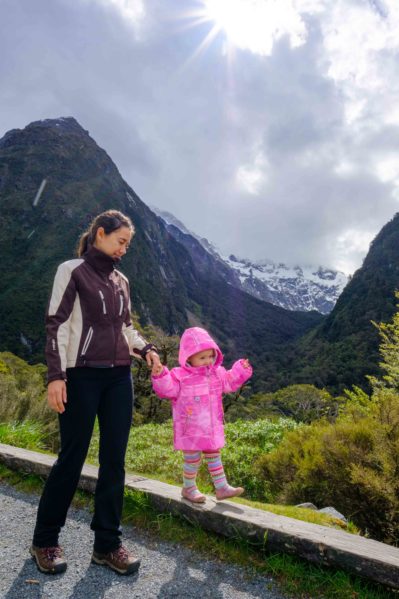 Pops View – Our first glimpse of the stunning alpine scenery. Popular with tour groups, it can become busy at peak times. However, if you wait it out, you will have time to enjoy the view without the crowds.
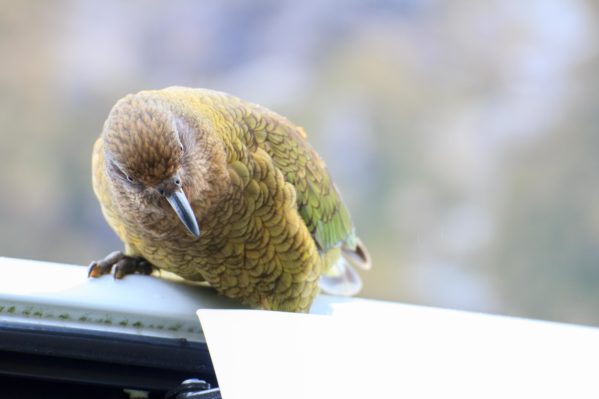
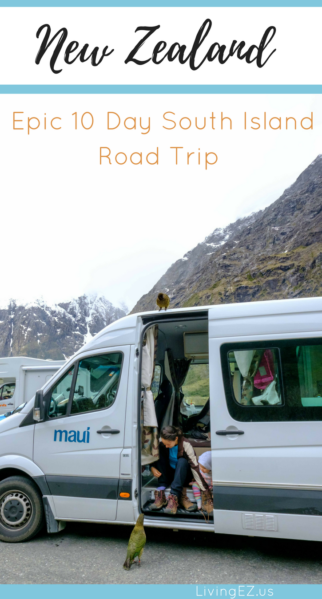
Monkey Creek – A beautiful stop to admire the towering mountains. We encountered a couple cheeky and curious Kea parrots interested in any food we might drop (side note: you are not supposed to feed the Kea this discourages them from their normal foraging). They may have inflicted some slight damage on the car with their incredibly powerful beaks.
Stay at Milford Sound Lodge Campground
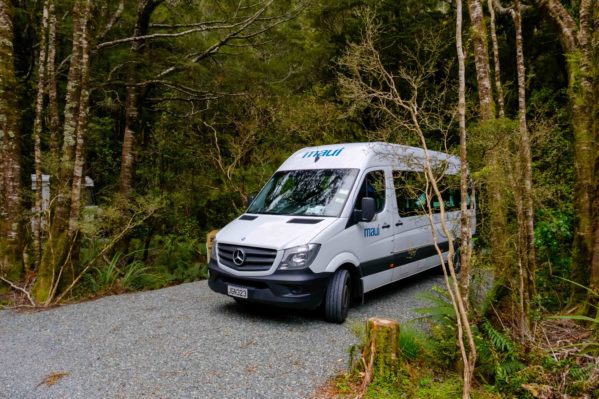
Milford Sound Lodge is the closest camper van accommodation to the sound and it was the busiest site we visited. The lodge completely sold out our first night, and JZ’s insistence we call to book that morning! I initially thought the site was a bit pricey ($27 per adult) but later stayed at much less exclusive sites for about the same price. This campsite is far and away our favorite paid site of the trip. From the scenery, clean showers (with a towel warmer!), and the optional breakfast buffet to the friendly staff – we relished in our time here.
If you don’t quite make it to the sound or it’s booked out, there are freedom campsites run by the DOC within the national park. These sites are paid, first come-first serve, and are about 50km from the sound. The Cascade Creek campsite is the closest option and Deer Creek is nearby as well.
Day 4 – Milford Sound
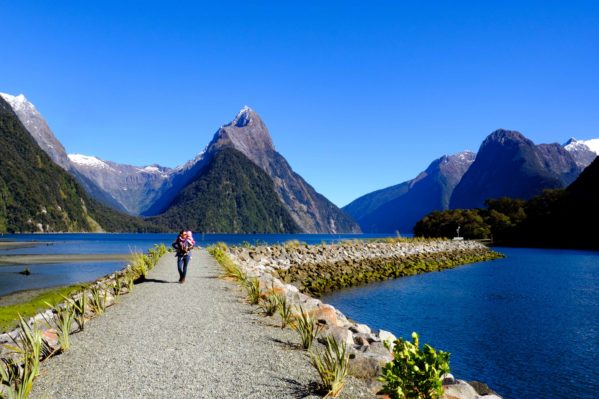
The whole family feasted on the breakfast buffet at the lodge, and then we drove to the sound for a 10:45am cruise. In hindsight, an earlier cruise would leave more time hiking. However, we loved the smaller vessels of Cruise Milford (plus a 5 star Trip Advisor rating!), and it was the earliest time they offered. The cruise allows you to get up close to the waterfalls, seals, and even some Fiordland penguins!
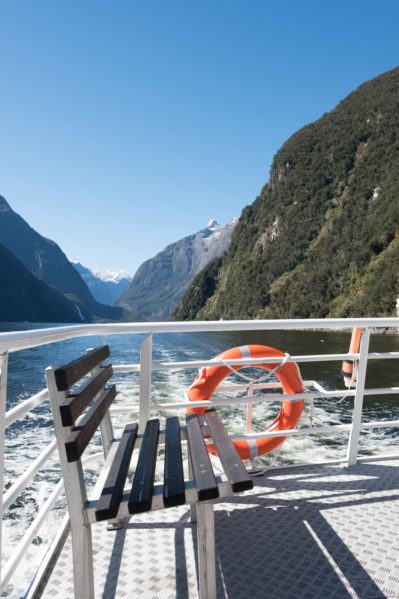
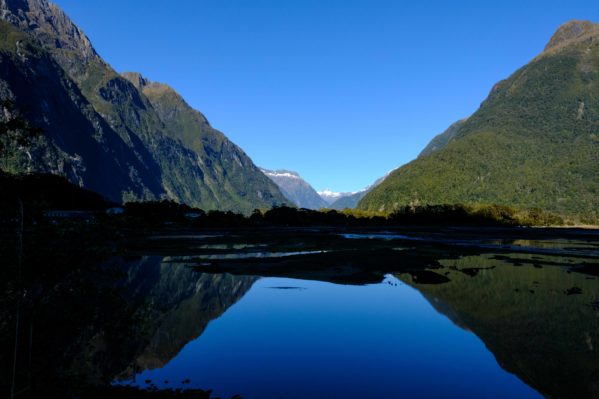
Even though we chased CZ around half the time to ensure she didn’t take an accidental swim, the cruise offered a lot of great information about the flora, fauna, and history of Milford Sound. There were also biscuits and coffee!
Day Hikes in Fiordland National Park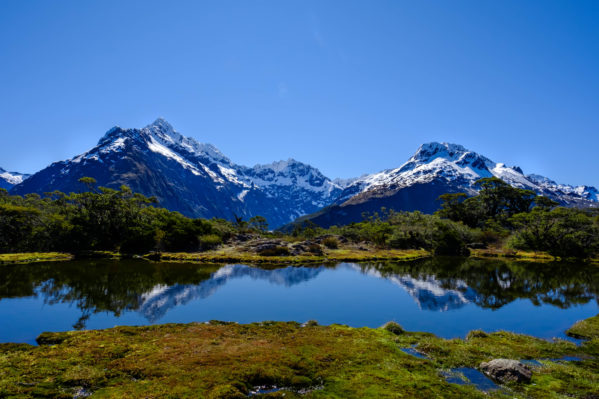
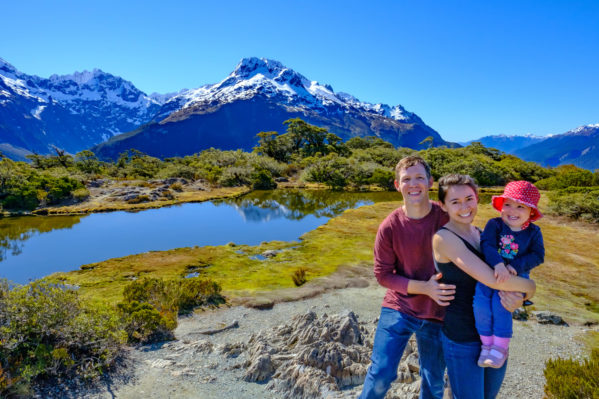
During our brief stop in the Te Anau visitors center, the park rangers told us to stop for the Key Summit track if it was a clear day because it is hands-down a ranger favourite. The challenging and rewarding hike to the summit did not disappoint. The long uphill switchbacks are doubly grueling with a toddler on our backs, but the clear day called us to summit heights and epic views.
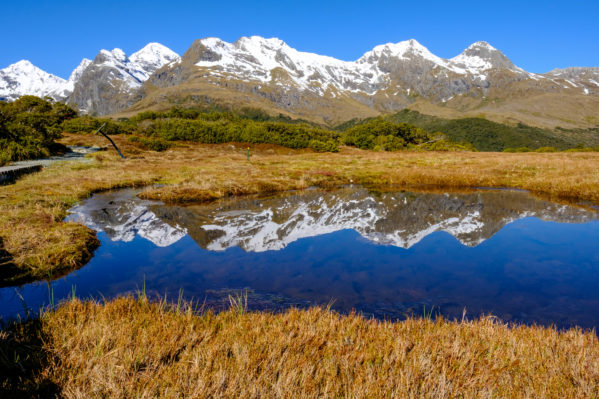
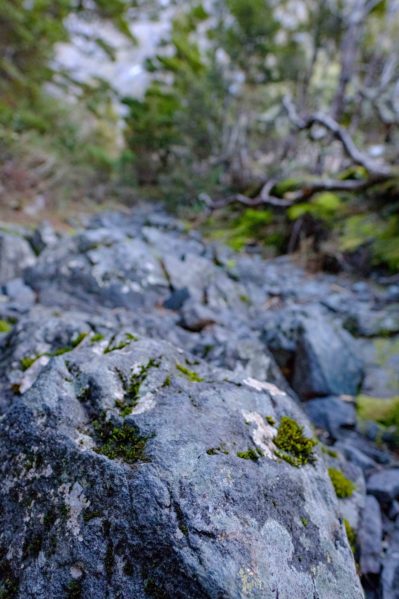
Our last impromptu stop was at Gertrude Saddle, an advanced tramping trail. Dramatic sunset lighting on the mountains and the rushed brook proved too much for us to resist. We piled out of the car into the freezing evening temperatures.
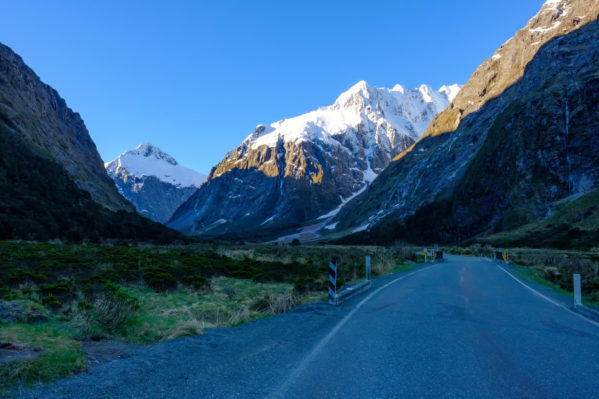 CZ enthusiastically ran around, threw rocks, and climbed over boulders while JZ and I took turns supervising and taking photos. Even though we only covered a couple hundred meters of the trail, I would recommend spending some time in the area. For those of without tramping skills or experience, staying near the car park offers untouched natural beauty with a bit of rock scrambling for the little ones.
Our original plan was to catch sunset at Milford Sound, but we played around a little too long for that plan to be viable. In fact, we even missed the cut-off for lighting in the one lane, 1.2km tunnel. Homer tunnel regulates traffic with lights during peak periods (6am-8pm during our visit). The experience was thrilling to say the least. The tunnel is pitch black and the passing areas are at the first and last 200m marks. We expected another car to come barreling towards us at any moment, blinding us with headlights. Thankfully, we exited the tunnel unscathed.
Stayed again at Milford Sound Lodge Campground
Day 5 – Milford Sound to Lake Wakatipu
Our last day in Milford! We wanted to stay longer, but with half the driving still ahead, we needed to keep moving. Fortunately, we squeezed in a few short walks during our last day in Milford Sound.
The Chasm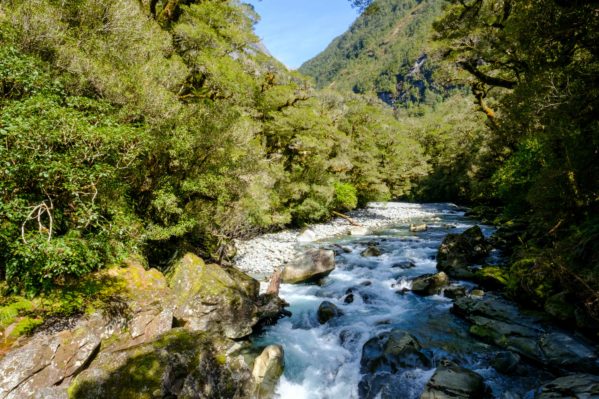
Tutoko Suspension Bridge
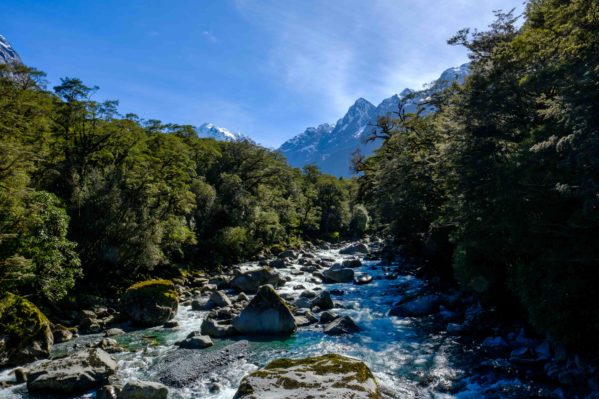
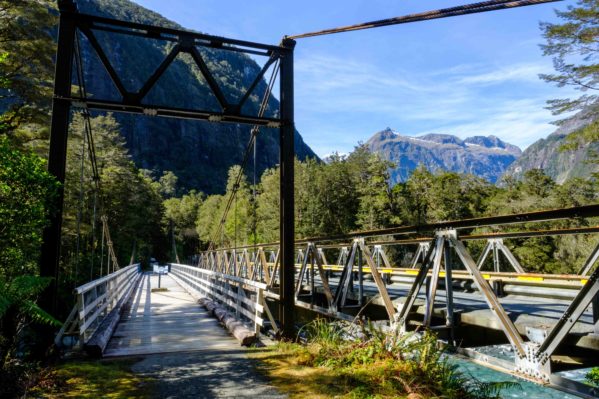
The Swinging Bridge & Waterfall on the Lake Marian Trail
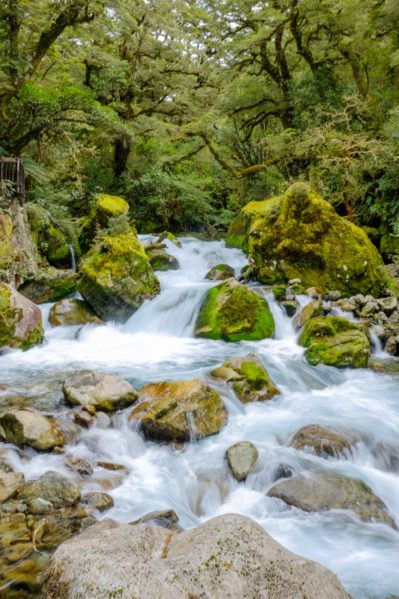 After lunch, CZ snoozed, and JZ took us through the twisty turny roads of the National Park. We almost made it out before she woke up. Unfortunately, she seemed to have been nauseous while sleeping and almost immediately threw up. We pulled into the next stopping area, to have a breather, and she eventually calmed down in the cool breeze.
After leaving the National Park, we booked it towards Queenstown. The mountain highway is extremely curvy, and we stopped several times to keep the nausea at bay, let speedy small cars pass, and appreciate the views.
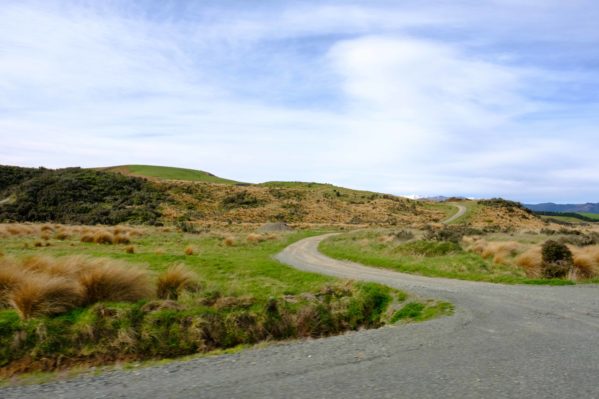
Stay at: freedom camp on Lake Wakatipu
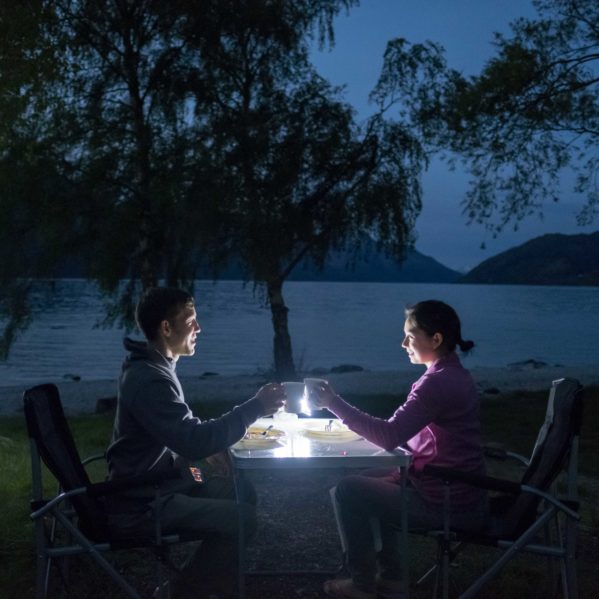
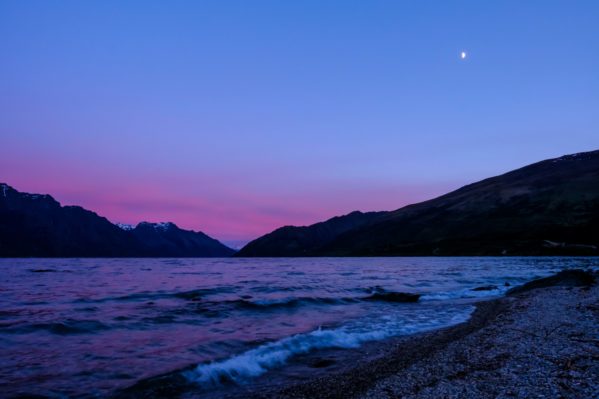
We arrived at Lake Wakatipu in the early evening with enough time to pick a lovely site for freedom camping. Several other vehicles joined us in the picnic area off the highway, but we still managed to relish unobstructed sunset views. While I prepared CZ for bedtime, JZ prepared a simple date night meal for us outside.
Added bonus: the sunrise views here are incredible!
Day 6 – Oahu to Queenstown
This was probably the hardest day of the trip.
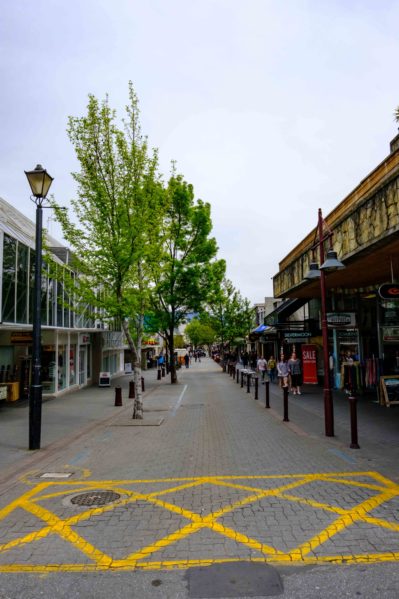
It was our first experience driving the van in a truly urban environment. The narrow streets, one-way roads, roundabouts, and lack of campervan friendly/possible parking took a toll on our patience. JZ finally found parking and backed into the space, adding a dent to the bumper. Unfortunately, two seconds before, CZ threw up on her last clean pair of pants and all over the car seat. We were not in a good place.
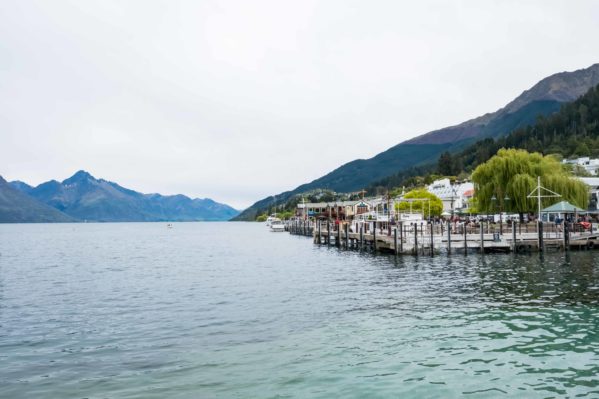
The deceptive free camper van parking was in the Lakeview Holiday Park reception area. We gave up our dreams of freedom camping on Remarkables Road to do some much-needed washing of clothes and the car seat. After settling into our new home parking spot, we set off for Queenstown city center. While the city is small, it did pack a lot of beauty! We admired the Remarkables from afar, and decided to splurge for a paid gondola city-view from above the following day.
Eat at: Coalfire BBQ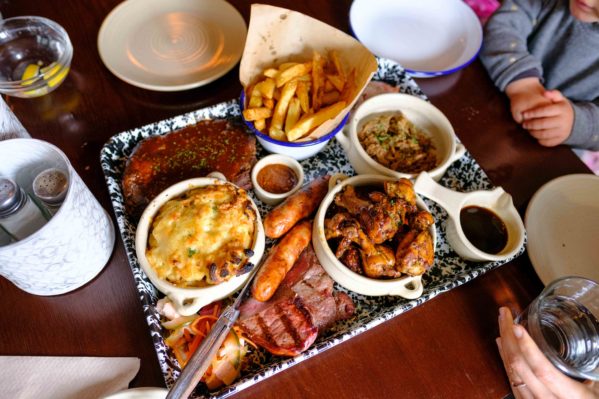
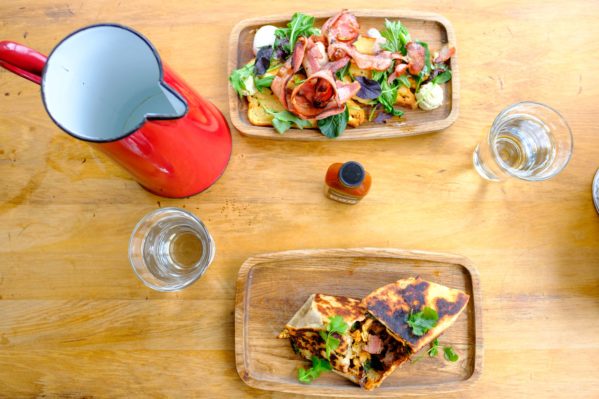
We wandered through the shopping and harbour, finding ourselves hungrily eyeing the menu at Coalfire Barbeque. We didn’t hold back with the full BBQ platter of ribs, sausage, sirloin, wings, pulled pork, mac n’ cheese, and french fries. The ribs and sausage were the clear favourites for JZ and I. The biggest downside to the platter is that once CZ sees fries, she refuses to eat anything else. After all we’d been through that day, we decided to let it slide and let her be a toddler who occasionally only eats french fries for dinner. We loved it so much that we returned the next day for breakfast.
Stay at: Queenstown Lakeview Holiday park
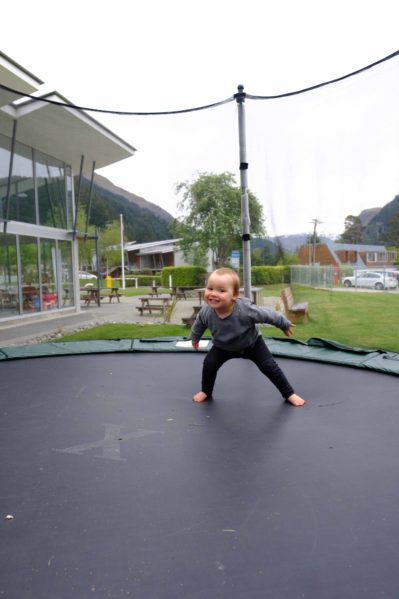
The holiday park isn’t much more than a glorified parking lot with power and water, but the location is amazing! We could walk downtown or to the gondola in five minutes. CZ gave the playground and trampoline a thumbs up, and I appreciated the hair dryers in the bathrooms!
Day 7 – Queenstown to Lake Ohau
The next morning, we thoroughly experienced Queenstown. Queenstown is the thrills capital of…something. Some say world, but I think that’s a bit of a stretch.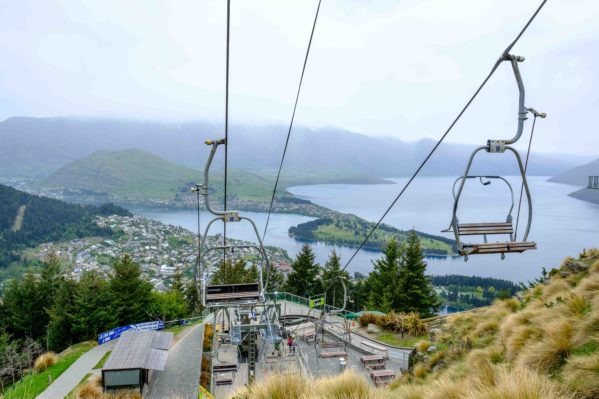
Regardless, it is known for extreme sports and as the birthplace of bungee jumping. Within the city, you can mountain bike, white water raft, skydive, canyon swing, hang glide and much more. Since we wanted to include little CZ in the adventuring, we chose the fairly calm gondola and more thrilling luge ride. The cold, rainy weather did put a damper on things, but we enjoyed the hazy views and speedy rides.
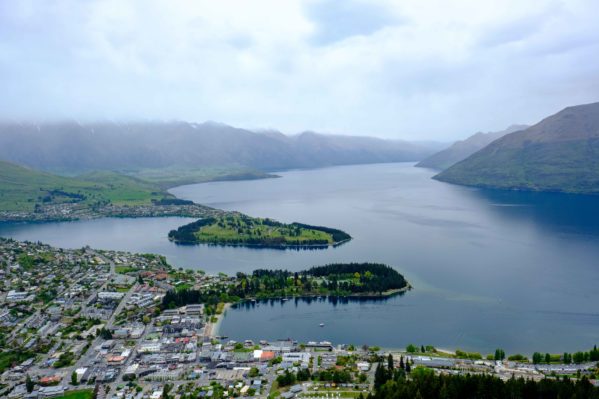
After a packed morning, we headed up towards Mt Cook. My Kiwi friend suggested that we check out Lake Ohau, so we dutifully programmed the GPS towards this tiny ski town.
Stop at: Lindis Pass
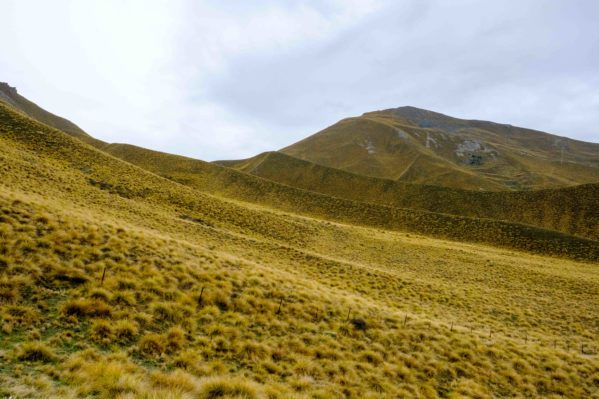
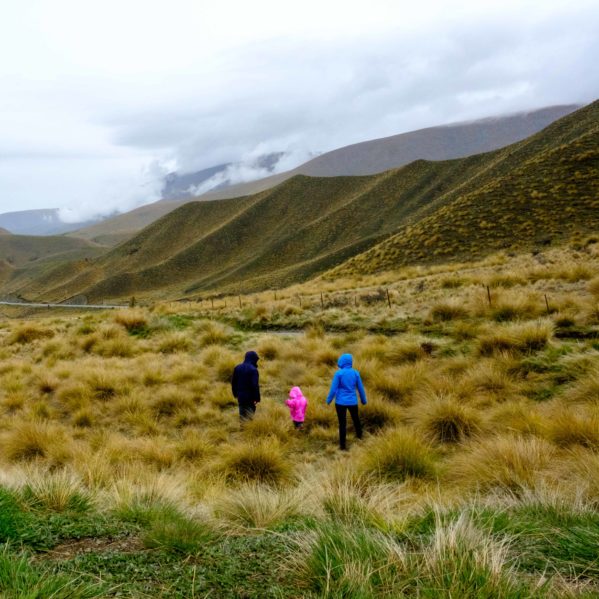
After a grueling ride through twisting roads with a thankfully sleeping, we pulled off at this lovely lookout. There is not much in terms of amenities or signage, but you can still stand in awe over the yellow grassy landscape stretching into the horizon. The grass is actually tussock and part of one of the first tussock reserves in New Zealand (read more here). Our short walk to the lookout point made donning rain coats and muddying shoes worth the effort.
Stay at: freedom camp at Round Bush Campground
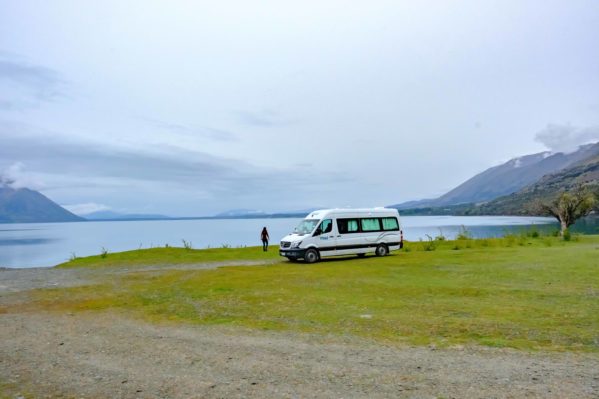
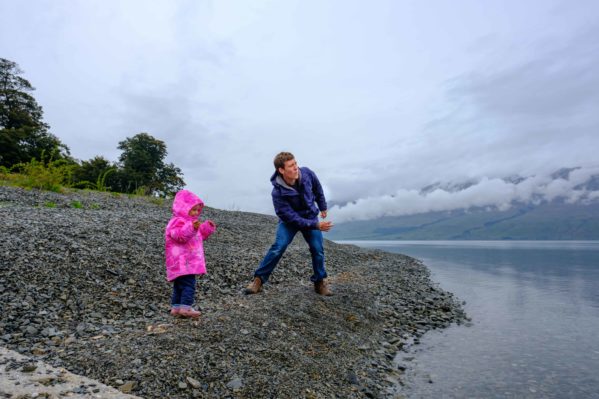
As soon as we glimpsed the lake, we knew the trek was worth it. The isolated beauty of the campsite and serene lake perfectly complemented our adventurous morning. We slept lakeside at a small donations-based DOC campground with a stellar sunrise vantage points.
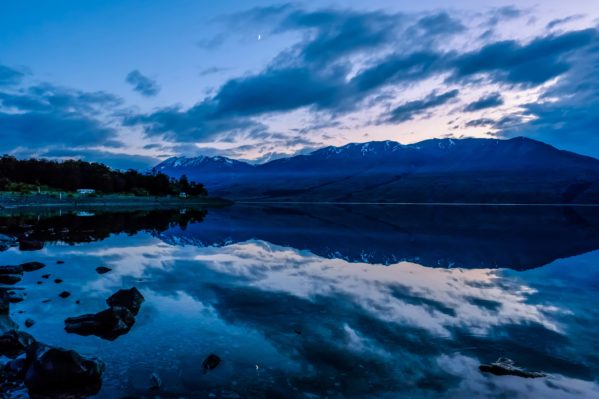
Day 8 – Lake Ohau to Mt Cook National Park
In the morning, we stopped at a short hike on the way out of Lake Ohau and then continued into Mount Cook National Park. Like Milford, the road into Mt. Cook requires a fair bit of driving before reaching the campsite. Although it also offers lots of opportunities to stop for photos of the milky turquoise glacier lakes and stunning ice capped peaks.
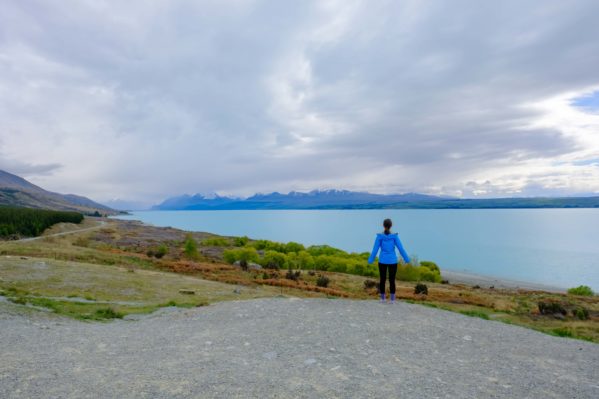
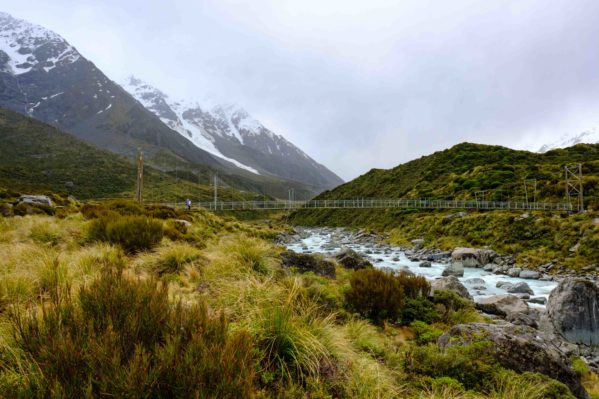
We arrived at the campsite and immediately headed out on the popular Hooker Valley track.
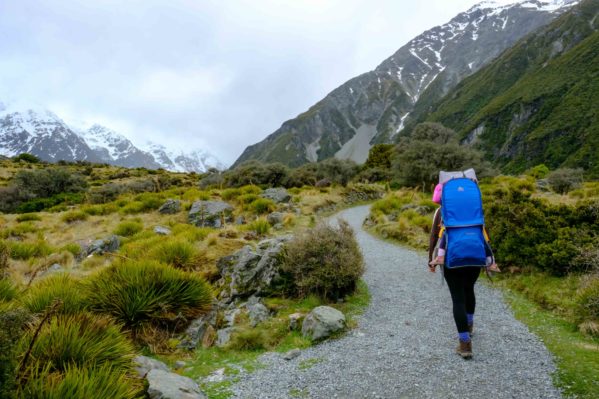
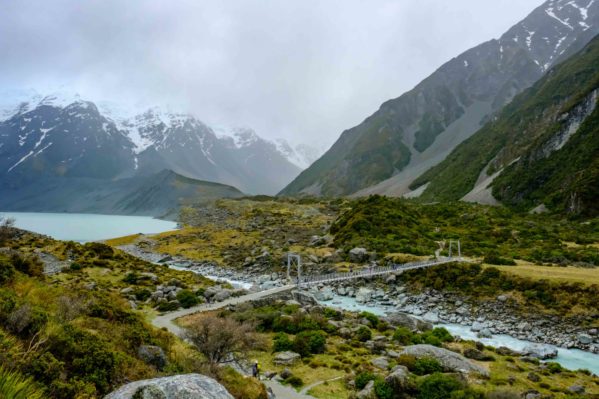
We soldiered on to the end, despite a full on toddler tantrum, and were in pretty bad spirits when we finally reached the amazing glacier lake. The blue colour and floating icebergs would have been enchanting if we weren’t exhausted, emotionally drained, damp from on and off rain and sweat, and cold. JZ wanted to stop and admire the scene, but I was over it.
Stay at White Horse Hill DOC Campground
The campground provided the basic amenities: water, a kitchen, and a dump station. While it lacked in niceties, the views and prime hike location made up for the spartan conditions. We loved being at the trailhead of three awesome hikes!
Day 9 – Mt Cook to Geraldine
The hikes on this day left me sore for four days! We wish we could have spent two nights in Mt Cook like we did in Milford. Every hike offered new vantage points, exciting swinging bridges, and luxurious milky glacier lakes.
Mt. Cook Day Hikes
Kea Point lookout
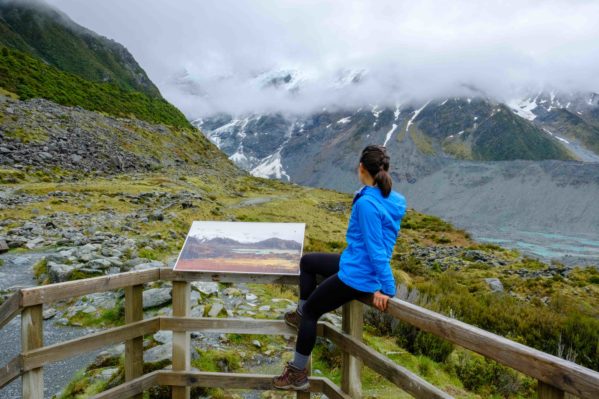
Sealy Tearns track
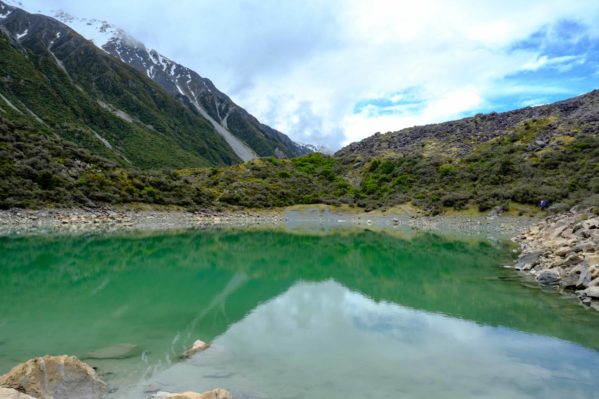
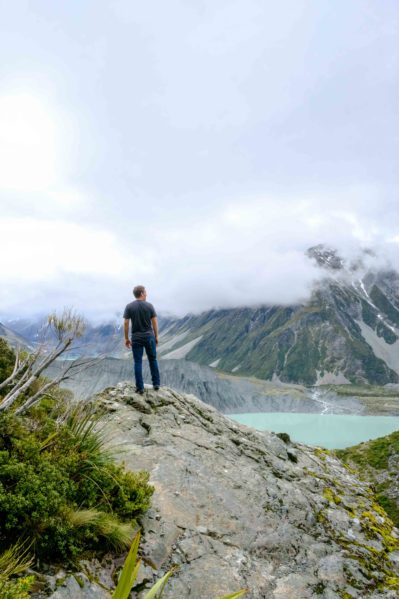 Blue Lakes Track
Tasman Lake
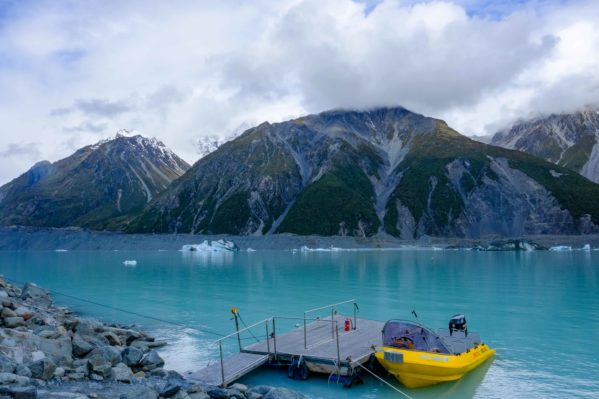
We could have spent the entire day with these hikes, but blitzed through them after meandering the 2,000 steps of the monstrous Sealy Tearns Track. I also learned a fun fact about myself: while I enjoy heights while locked into a harness, climbing up to a glacier gives me vertigo that I must overcome by turning around.
Stay at Geraldine Kiwi Holiday Park
The goal of our evening drive was to get as close to Chirstchurch as possible. Mt Cook is about 4 hours from Christchurch and we hoped to shorten the morning travel distance to closer to 2 hours. The original plan was to stay in Tekapo, but it would be 3 hours of driving in the morning and make for a stressful morning.
We thought we would be able easily pull off into one of the freedom camping sites in a small town, like we did in Riversdale, but as we passed Tekapo it seemed less and less likely. The freedom sites that we could find were far off the main highway and out of our way. By this point it was quite dark and without any street lights, things started to look fairly ominous. JZ caved and we pulled up to this cute little town holiday park at 11pm, thankfully someone was still awake!
Day 10 – Geraldine to Christchurch – fly home!
After such an exhausting day, we had to get moving in order to drive back to Christchurch, return our vehicle, and get on the plane. With a 2pm flight, we had sufficient time, but not enough to dawdle.
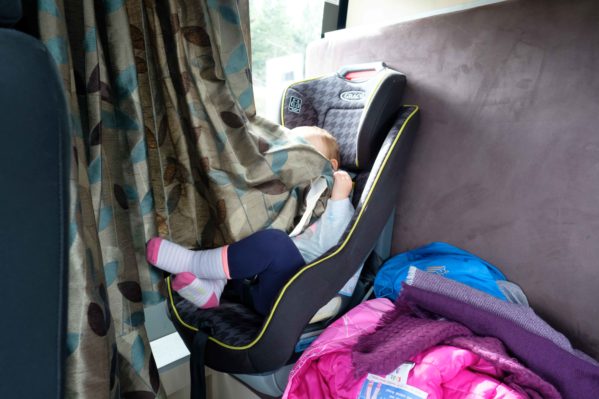
The drive to Christchurch was uneventful, CZ took a very early nap in the sunny, warm car. We returned the vehicle with minor issues and packed up the giant suitcase with the Kelty an all our dirty clothes. We caught the complimentary airport transfer from THL to the airport.
I love tiny international airports with a low key ambience. Most of the travelers are tourists instead of somewhat frantic business travelers. We spent our last hour in Christchurch meandering the airport shops and running with CZ.
New Zealand South Island Itinerary – Final thoughts
New Zealand offers much to see, in locations widely spread across the map, so we prepared for a driving vacation. While we only scratched the surface on our 10 day trip, we are happy with our decision to take it slow. Our goal was approximately 3 hours of driving per day, and we only went over twice.
Many of the sites and experiences involve the natural beauty of the New Zealand landscape, and we appreciated how the camper van allowed us to spend more time outside instead packing and unpacking suitcases. Although, we still needed to “break camp,” if you will. The beds needed stowing, dishes cleaning, and other small tasks for the checklist. We started our vacation overly optimistic about our departure times in the morning. However, we hit our stride toward the end, realizing one of us should take CZ for a morning play, while the other cleaned up. The cleaning and stowing went faster, and she was a better passenger following her morning play.
Freedom camping is amazing. We loved being able to pull up, park, and sleep. We enjoyed lakeside sunset views without the hotel price. However, there are lots of regulations surrounding freedom camping, and some areas are no camping zones (national parks, around Queenstown, etc.). I suggest having a list of campsites and camper friendly councils before traveling. We found the apps such as Campermate to be seriously lacking for the free spots, and the council websites generally had a section on where they allowed freedom camping. We will definitely do this again, and definitely have a list.
Cooking in a campervan proved demanding but not impossible. Honestly, the biggest challenge was keeping CZ out of harms way. Space was tight in our kitchen area because we went with a minimalist size. To make things easier, we tried for outside play during cooking, and simplified the menu. For our next trip, the menu will include more of our usual meals, but we chose not to overcomplicated our adjustment to camper van living. We followed a fairly basic, not super healthy menu, including cereal, granola, sandwiches, pastas, and grilled sausages. Our tofu and chicken curries toward the end are highlights from the trip’s menu.
Overall, we loved our New Zealand camper van experience, and look forward to planning our next trip. We definitely like visiting during the shoulder season, although we may try autumn next time for a little less rain.
If you want to learn more, join our newsletter, and be sure to pin this for future reference as you plan your New Zealand adventure!
Beautiful photography! Great trip!
Just wanted to let you know that your experience was really useful for us when planning our trip, especially the information about Queenstown parking. We didn’t follow your route exactly but I agree that some of the lakeside free camping areas and a DOC site were the best places we stayed. So thank you for sharing your trip.
That’s great!! Glad we could help. What was your favorite site?