Bokeh – How to Blur Background in 3 Simple Steps
Blurred backgrounds serve as one of the trademarks of professional-looking photos, and there are three main ways to achieve that swirly, beautiful backdrop in your photos. Once you understand how the effect works, you will flawlessly capture and isolate your subject. When you can consistently achieve this look, it enhances the story-telling in your photos!
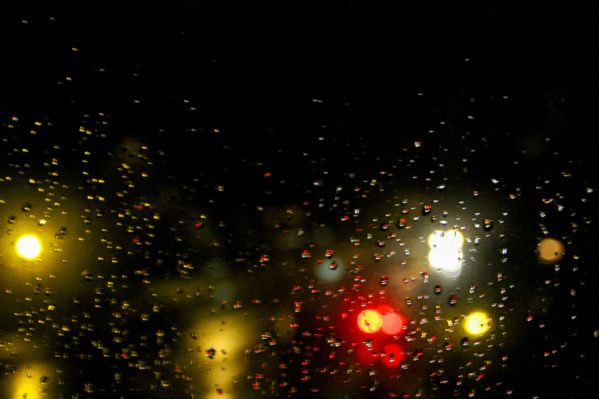
Auto mode and 3rd press of the shutter ever 🙂
The first picture I took with my first dSLR was mostly terrible, but I did manage to accidentally pull off the cool blurred background (bokeh). I took a photo through my window with water droplets in focus, more or less, and the lights in the background were beautiful balls of color. I practiced a lot to replicate the look consistently, and I am still trying to understand the physics behind just how it works.
What I do know, is how to blur background with our different cameras (point-and-shoot, Canon 60D). To oversimplify, it has to do with the size of your camera and how far apart you space the people or objects in your photos. Read on for more detail, and 3 simple steps to blur the background in your photos.
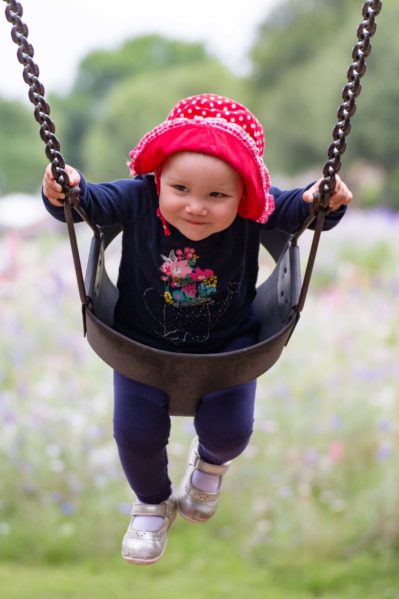
154mm f/4.5 60D (Crop Sensor)
What is Bokeh?
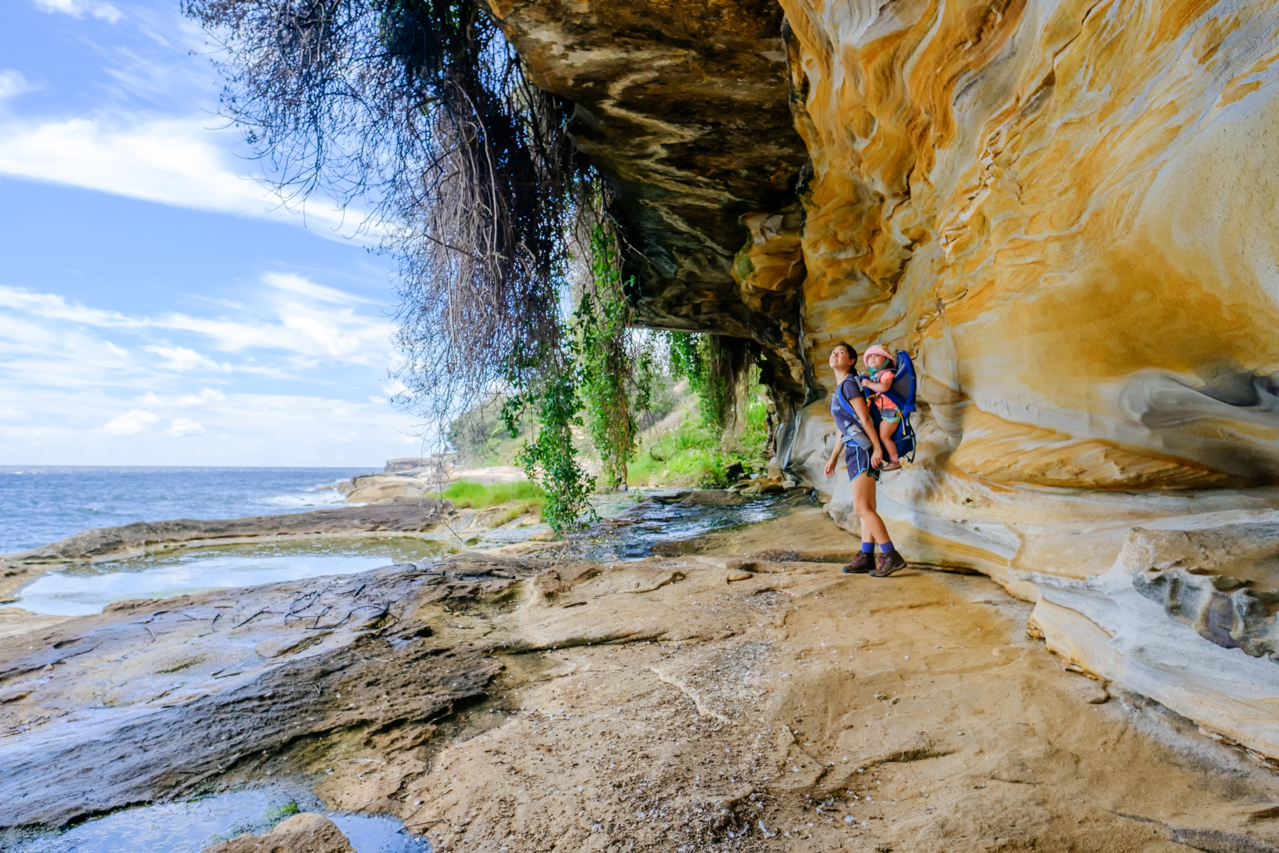
Bokeh is a Japanese word, pronounced “Bo – Kay,” and it is a fancy way to say blurred background. Different lenses produce a different looking blur, and the number of glass elements, aperture blades, and other engineering details drive the look. It is achievable with any camera and lens, but the smaller the camera (sensor) the more distance you need. In the image above, I stood on the playground equipment on the opposite side of the park from the swings, and In the image below, you can tell that EZ and CZ oppose the cliffs in the distance.
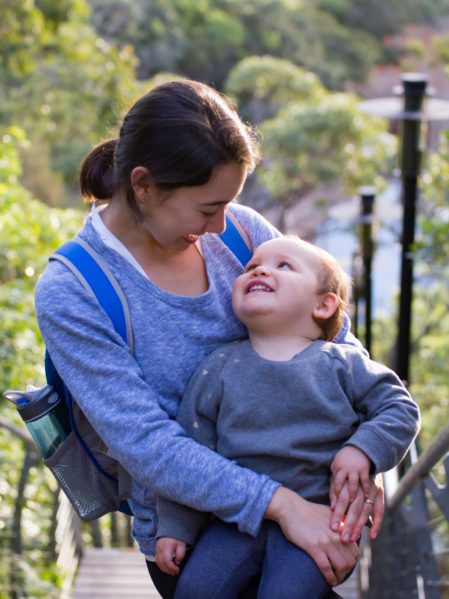
70mm f/4 – 60D (Crop Sensor)
How to Blur Background – Settings and Setup
Aperture – Aperture is the first setting you should adjust, and to keep it super simple, stick with aperture priority mode. (AV on Canon, A on Nikon, or turn the ISO and shutter dials both to A on your Fuji X) Your aperture should be set to the smallest number possible because this is actually the largest aperture opening. This is shallow the depth of field.
For example, think of a class photo, where there are 5 rows of people. At f/1.8, if you focus on the nose of the person in the middle of the front row, the people in the second row will be slightly blurry, and the people in the back row should be pretty blurry. At f/8, they will likely all be in focus because the aperture closes down to a smaller opening, creating a wider depth of field. You can still manage a blurry background at f/8, but you need a lot more distance between you and the subject, as well as between the subject and the background.
For a good working example, you can play with this awesome Canon Canada web app in AV mode to see the impact from the aperture.
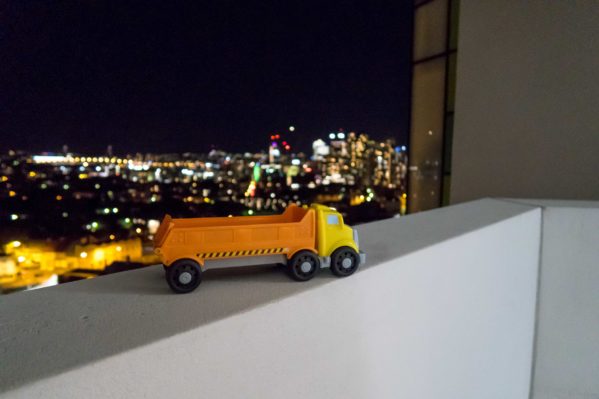
23.7mm f/2.8 – G7X
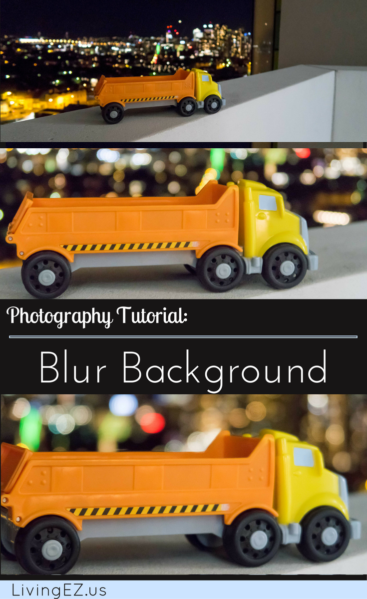
Distance between subject and background – The more distance between your subject and the background, the easier it is to blur the background. You can tell in the image above that the skyline is pretty far away.
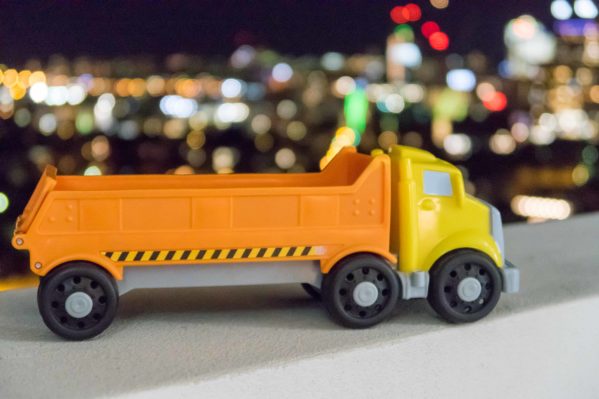
23.7mm f/2.8 – G7X
Distance between lens and subject – Here you see that when I get closer to the truck, the skyline appears closer, and you have more blur in the background, producing orbs of color around the lights.
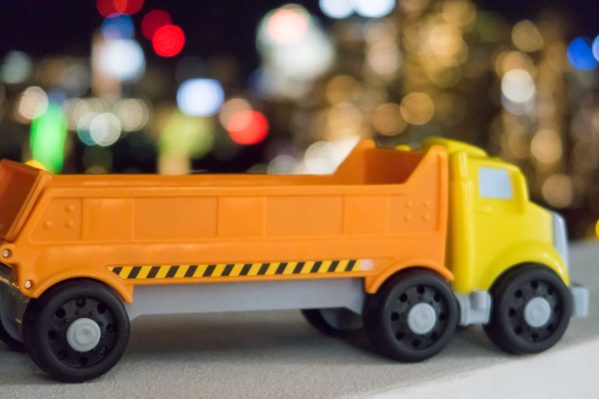
32.9mm f/2.8 – G7X
Zoom – In the last picture of the truck, I stood a little further back, and used the lens’ zoom to get closer. This produces even more blur in the background, and it shifts the perspective to make the background seem even closer.
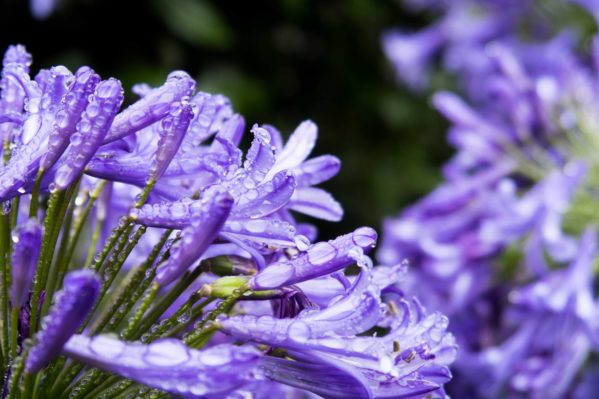
28.8mm f/4 – G7X
How to Blur Background – Summary
There are a lot of different factors impacting the background blur in images. Start with practicing with a small item, like my truck. This is the best way to get a feel for producing the blurred background with your camera. You can also experiment with blurring the foreground, and even both the foreground and background.
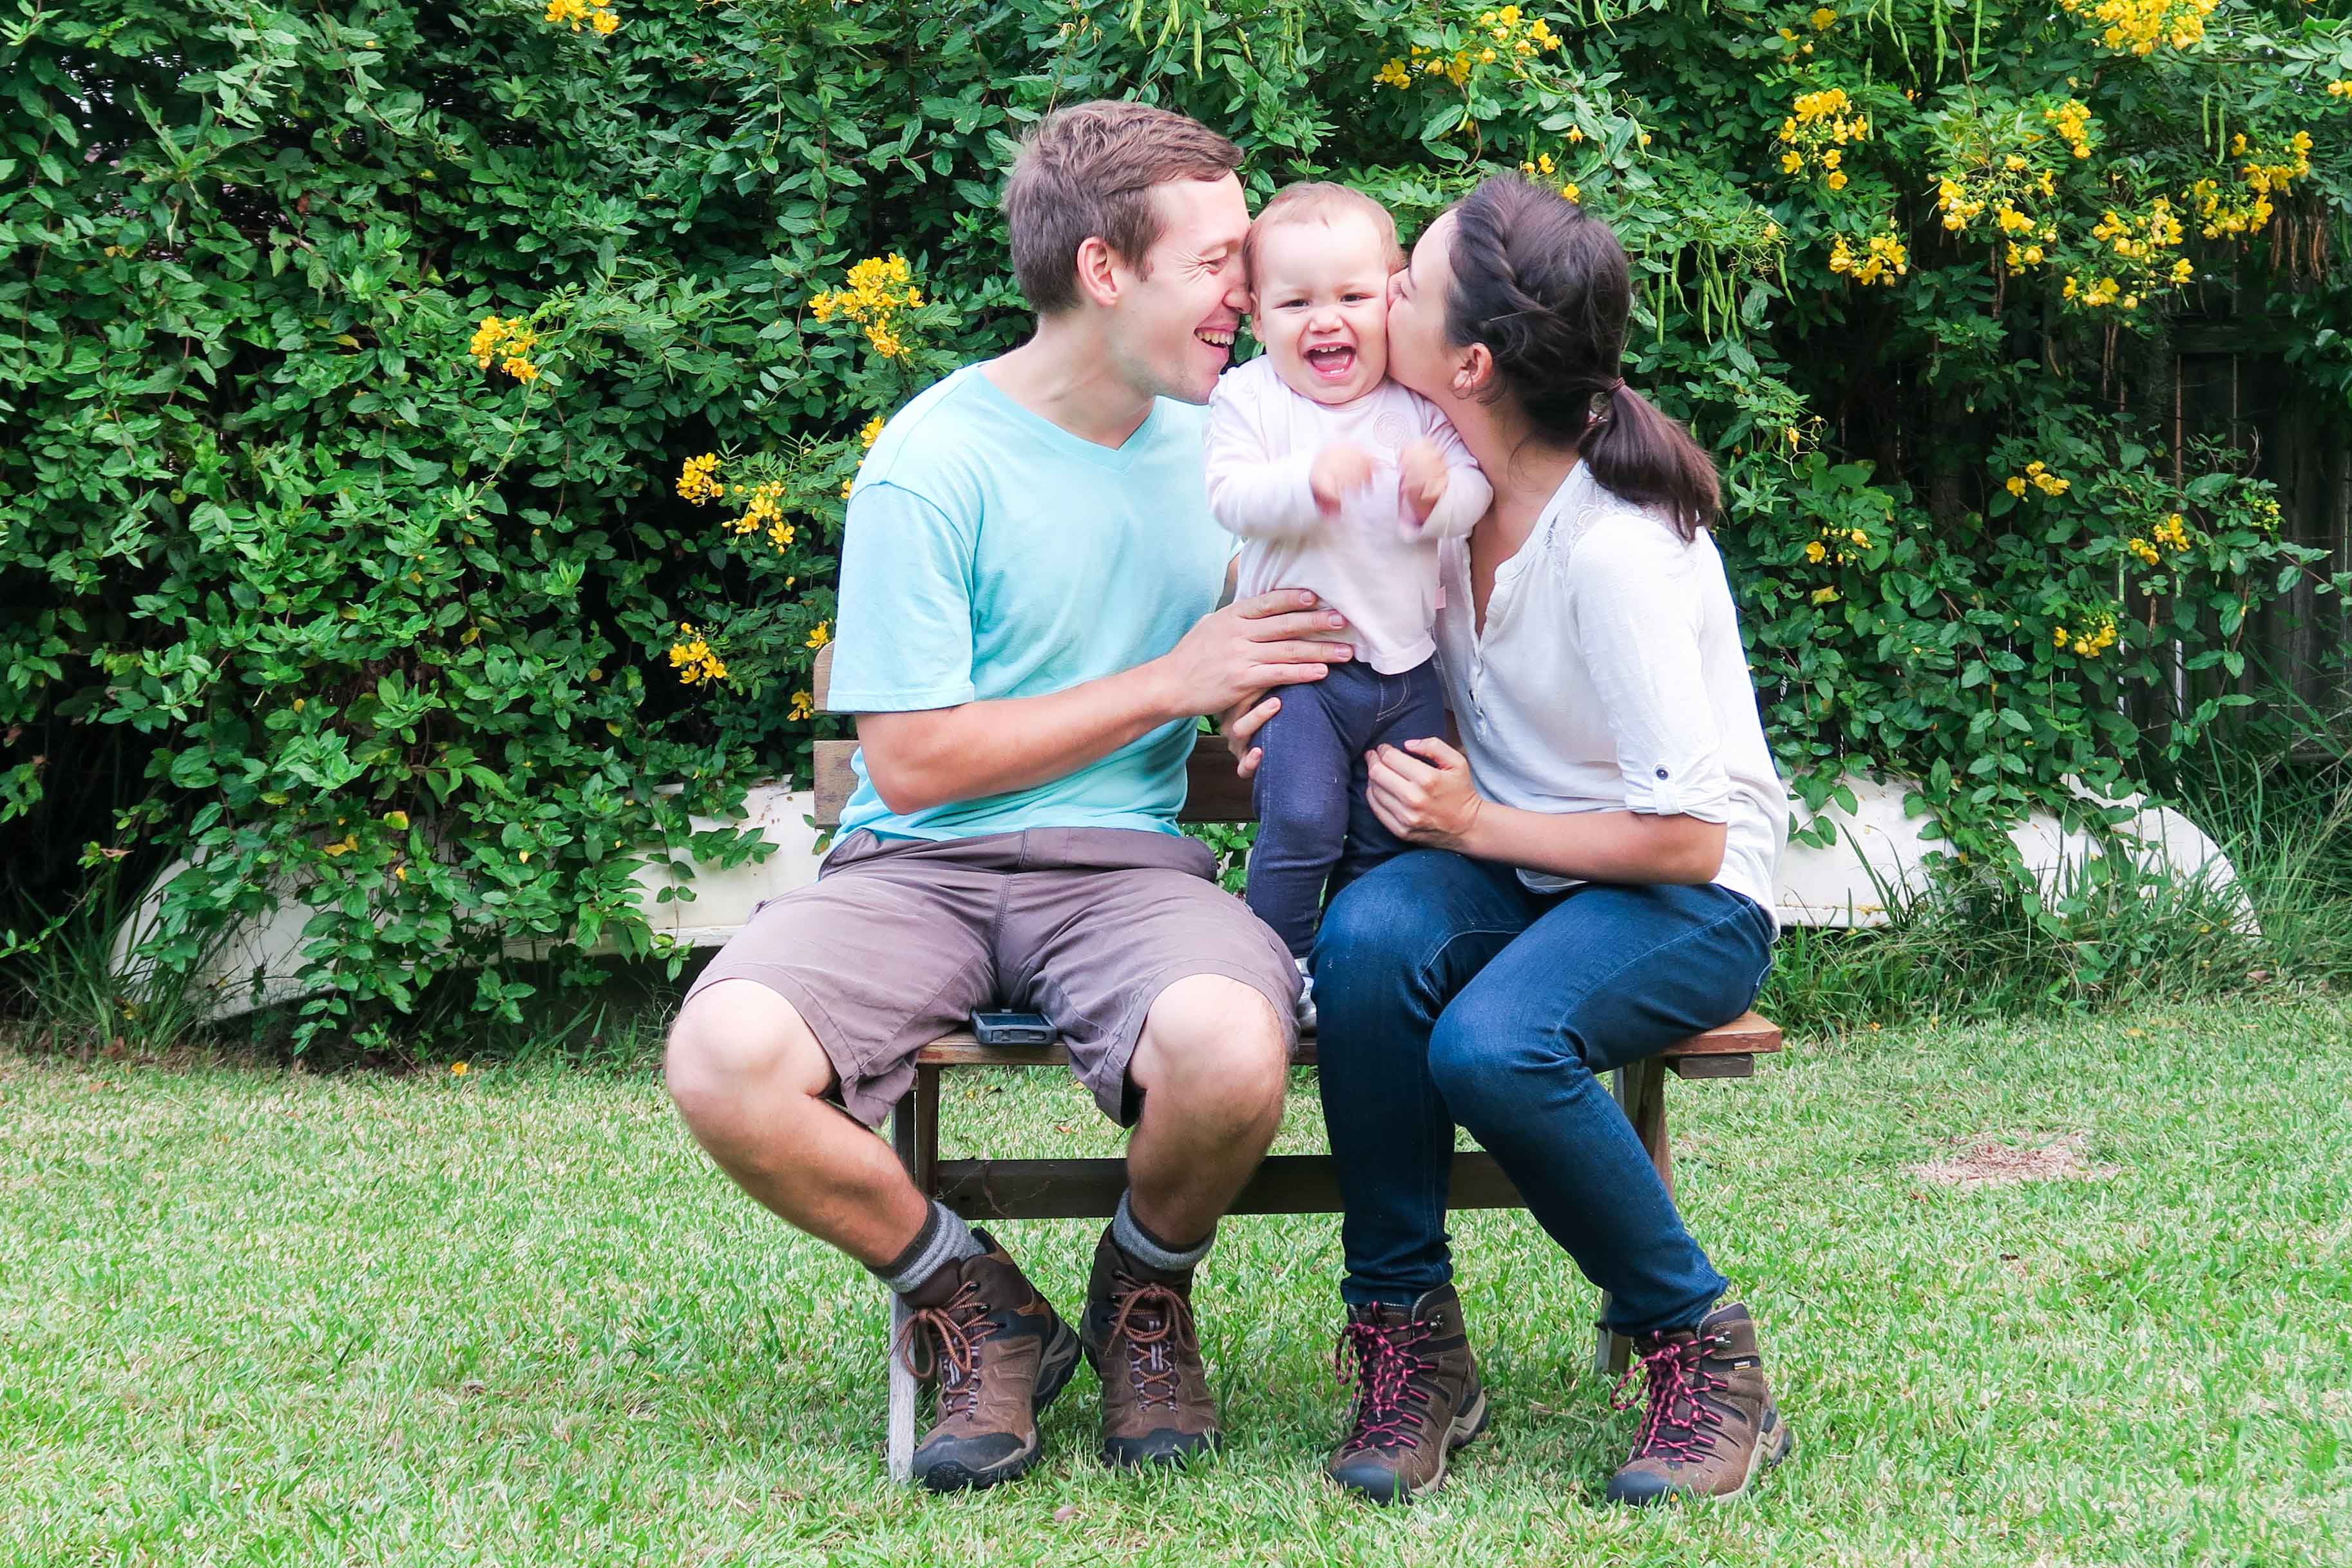
The other thing that will impact your images is the sensor size on your camera. A full frame DSLR requires less distance between objects than a crop sensor. Both of those require less space than the smaller sensors on a compact camera.
The closer your are to the subject, the less distance you need between them and the background. You can either get closer with a zoom or by actually moving. When you first begin, set the aperture to the smallest number on the dial.
Finally, it is possible with any camera, even an iPhone. You merely need more significant relative distance between the camera, subject and background.
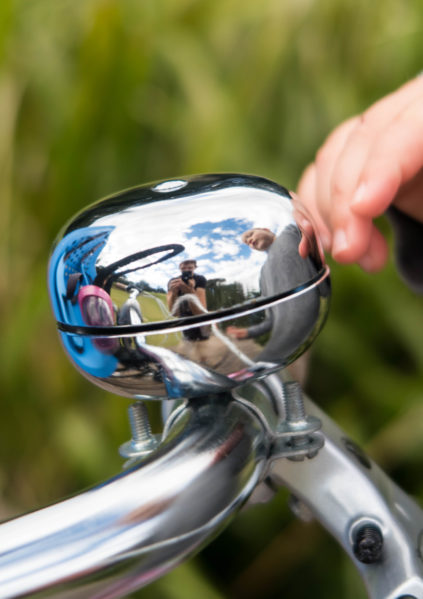
36.8mm f/2.8 – G7X
How to Blur Background – 3 Steps
- Set your aperture to the smallest number on the on the dial. (Wide open)
- Place your subject a good distance from the background. (This can be hundreds of feet for a large scene.)
- Place yourself closer to the subject than they are to the background. (Either move your body, or zoom.) And your ready to shoot.
Great explanation JZ, I’m always hunting down flowers and bugs because of this awesome effect.
Glad you it was helpful. Smaller objects where your lens is closer certainly make it easier to produce the effect. In some ways it makes our compact nicer, but because it’s size makes it easy to push right up to the flowers.
Hello,
I am the content editor for EasyExpat.com and have been following your blog since you listed it with us at BlogExpat. I think it would be great in our series of expat interviews. This would entail questions about being an expat, a few pictures, and it would link back to your blog. Here is a link to our latest interviews: http://interviews.blogexpat.com/blog/english
If you are interested, just let me know and I will send the questionnaire. In any case, keep up the good work!
Erin
Expat Guides, Forums, Classifieds, Job Listings & More: http://www.easyexpat.com Expat Blog
Directory: http://www.blogexpat.com
Expat Interviews: interviews.blogexpat.com/
Expat Author Interviews: books.blogexpat.com/
Expat Services Site & Guide: http://www.expat-quotes.com
Thanks Erin! We sent you an email 🙂