How Not To Ruin Your Photos And Save Time in Post
There is nothing worse than arriving home with a memory card full of epic sots from your day’s adventures to discover that your favorites all need an excessive amount of post processing because you made a sloppy mistake. This was us for the last 6 months or so.
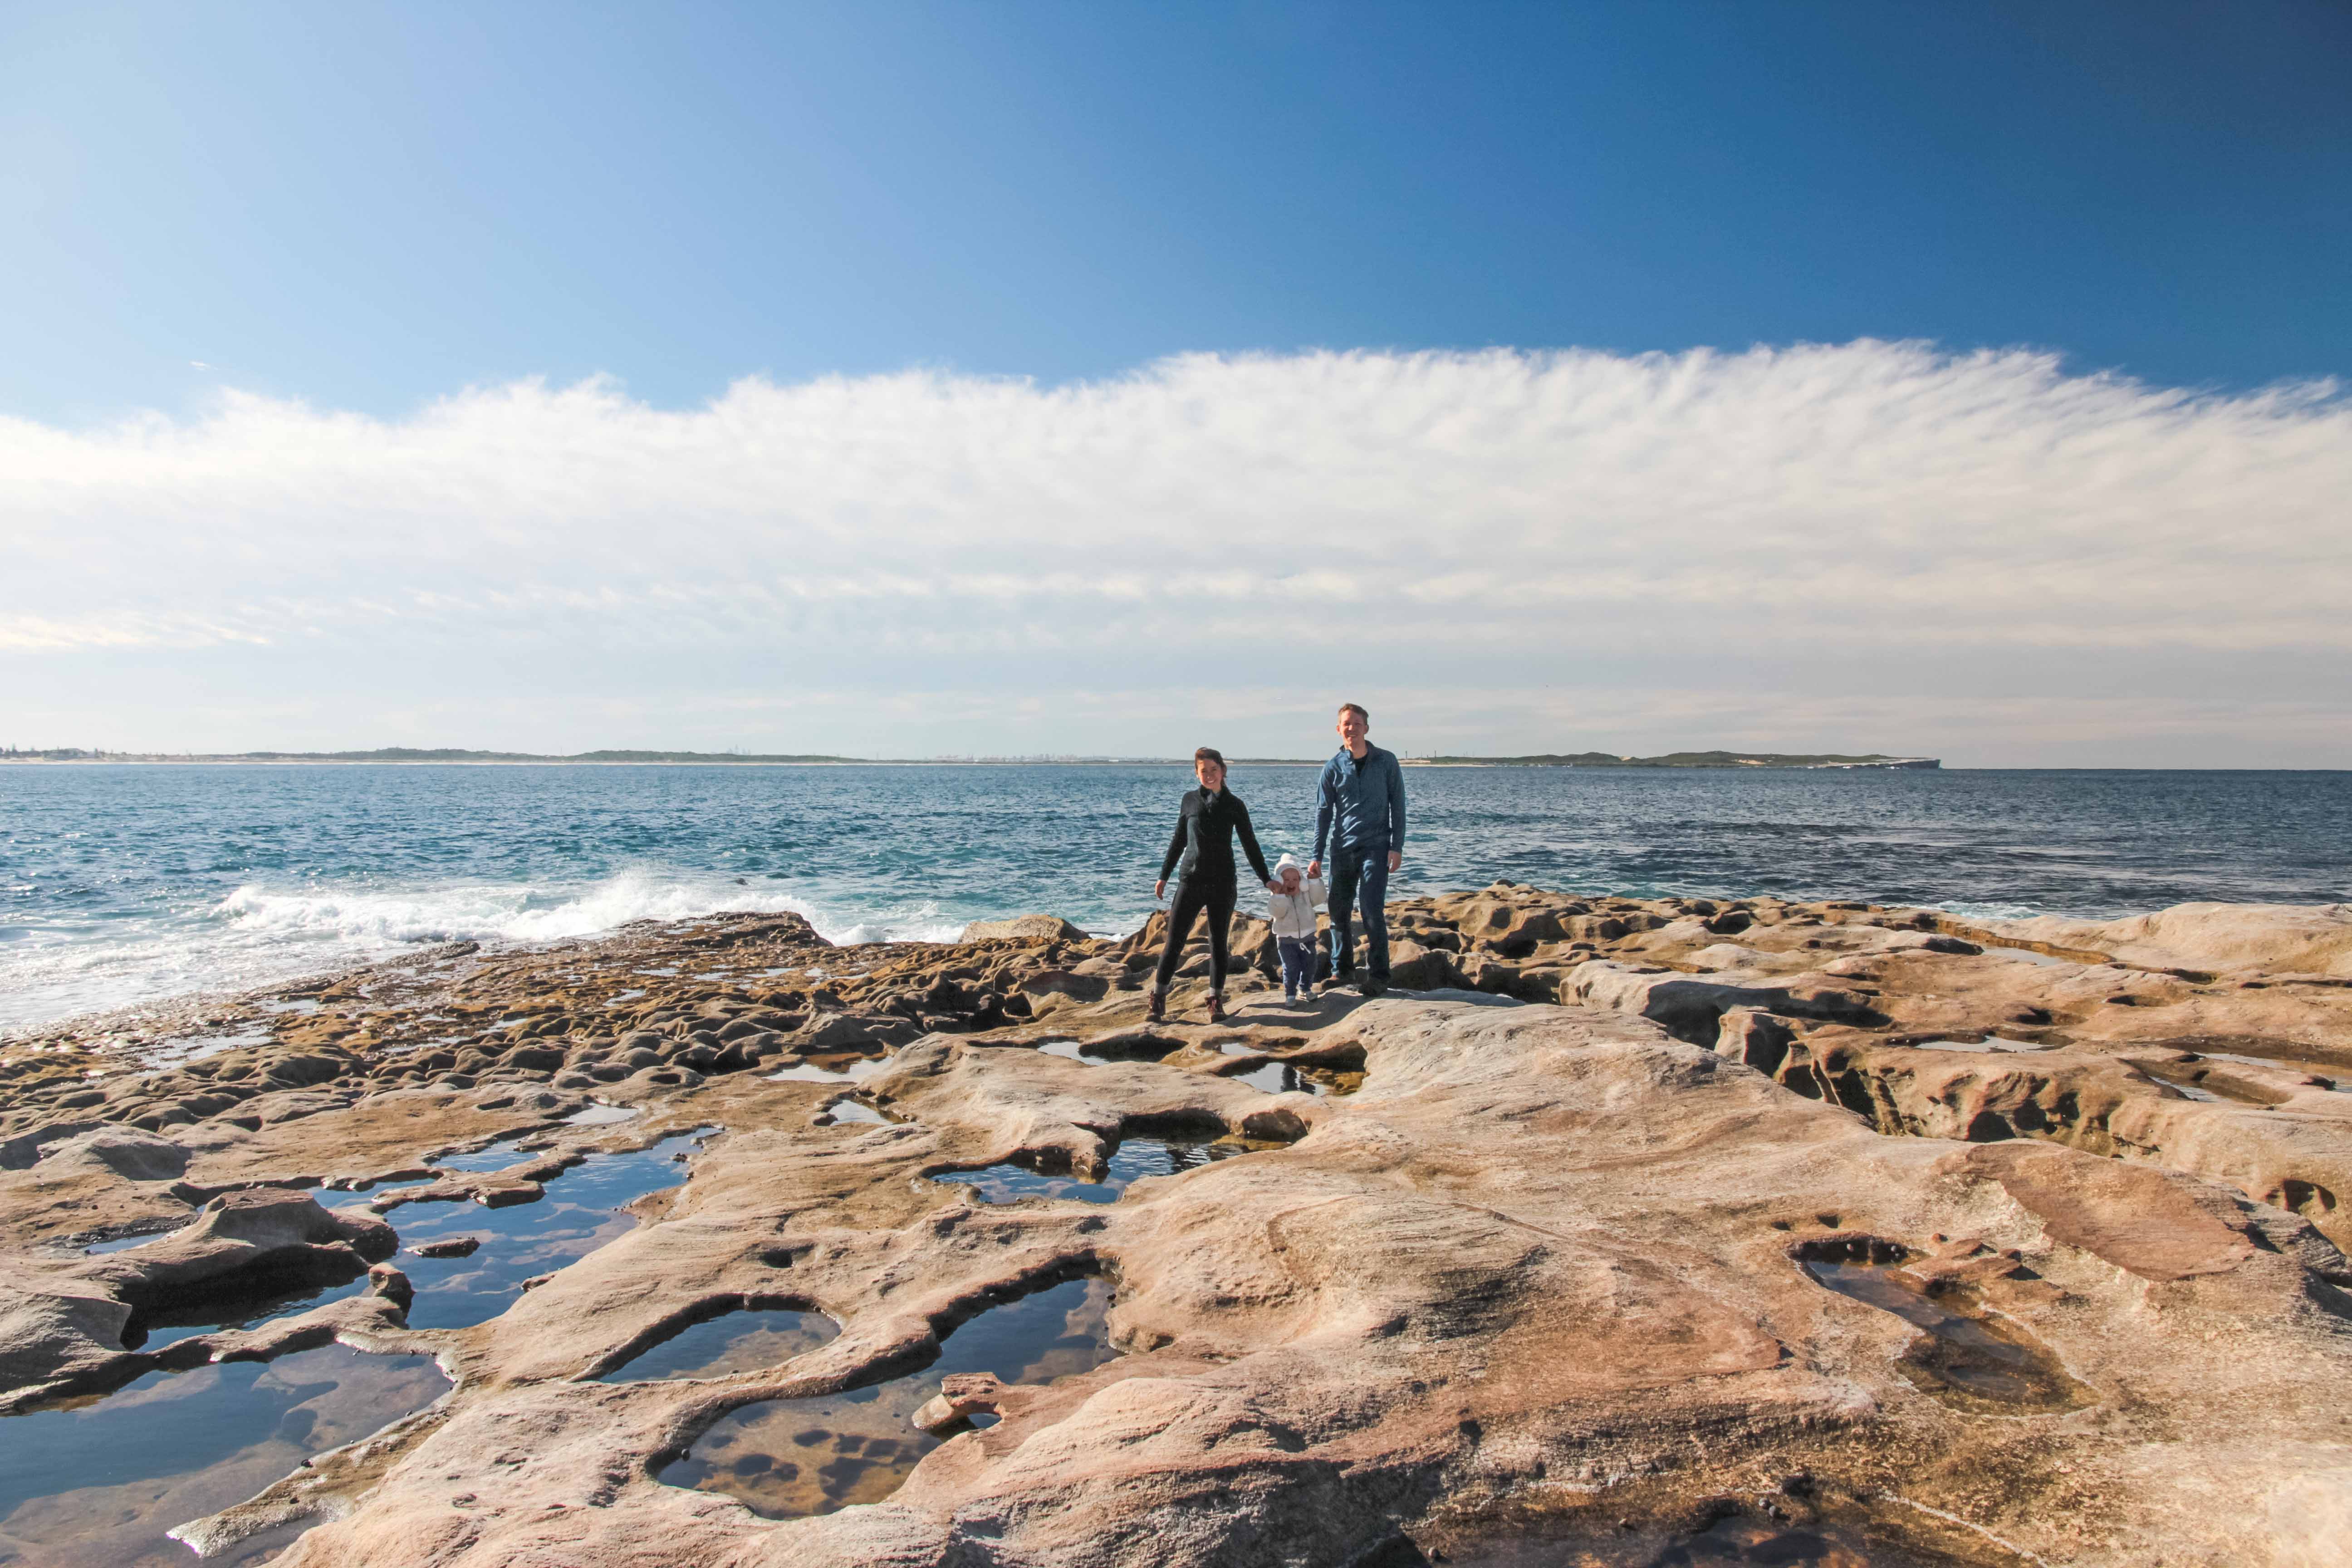
Can you spot the problem with the picture below?
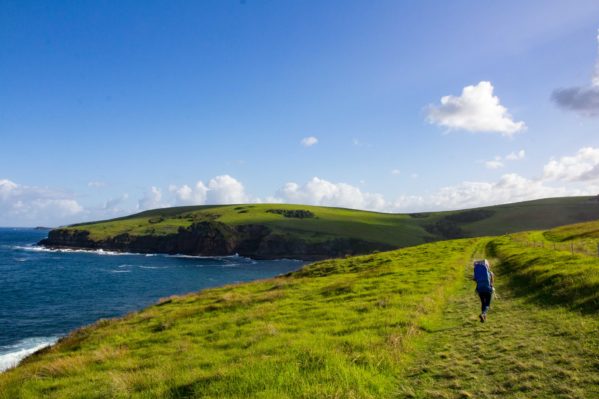
That upper left corner is full of small dark dots from dust on the sensor glass of our camera. For a lot of our shots this isn’t a huge deal, but we do a fair amount of hiking along the coast, here in Sydney. The dust on your sensor will show up the most at narrower apertures, when you photograph a bright blue sky.
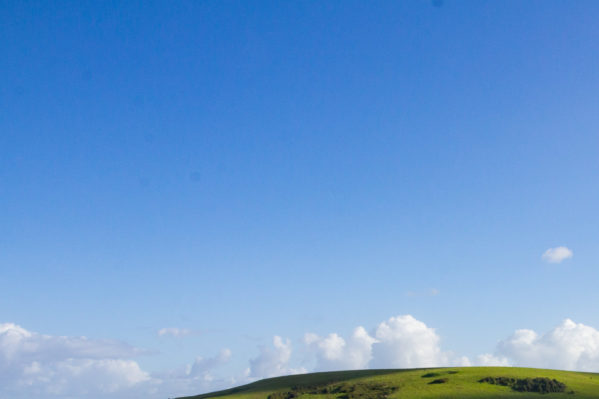
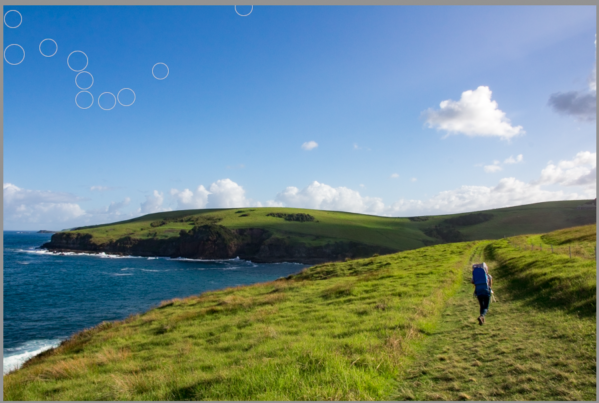
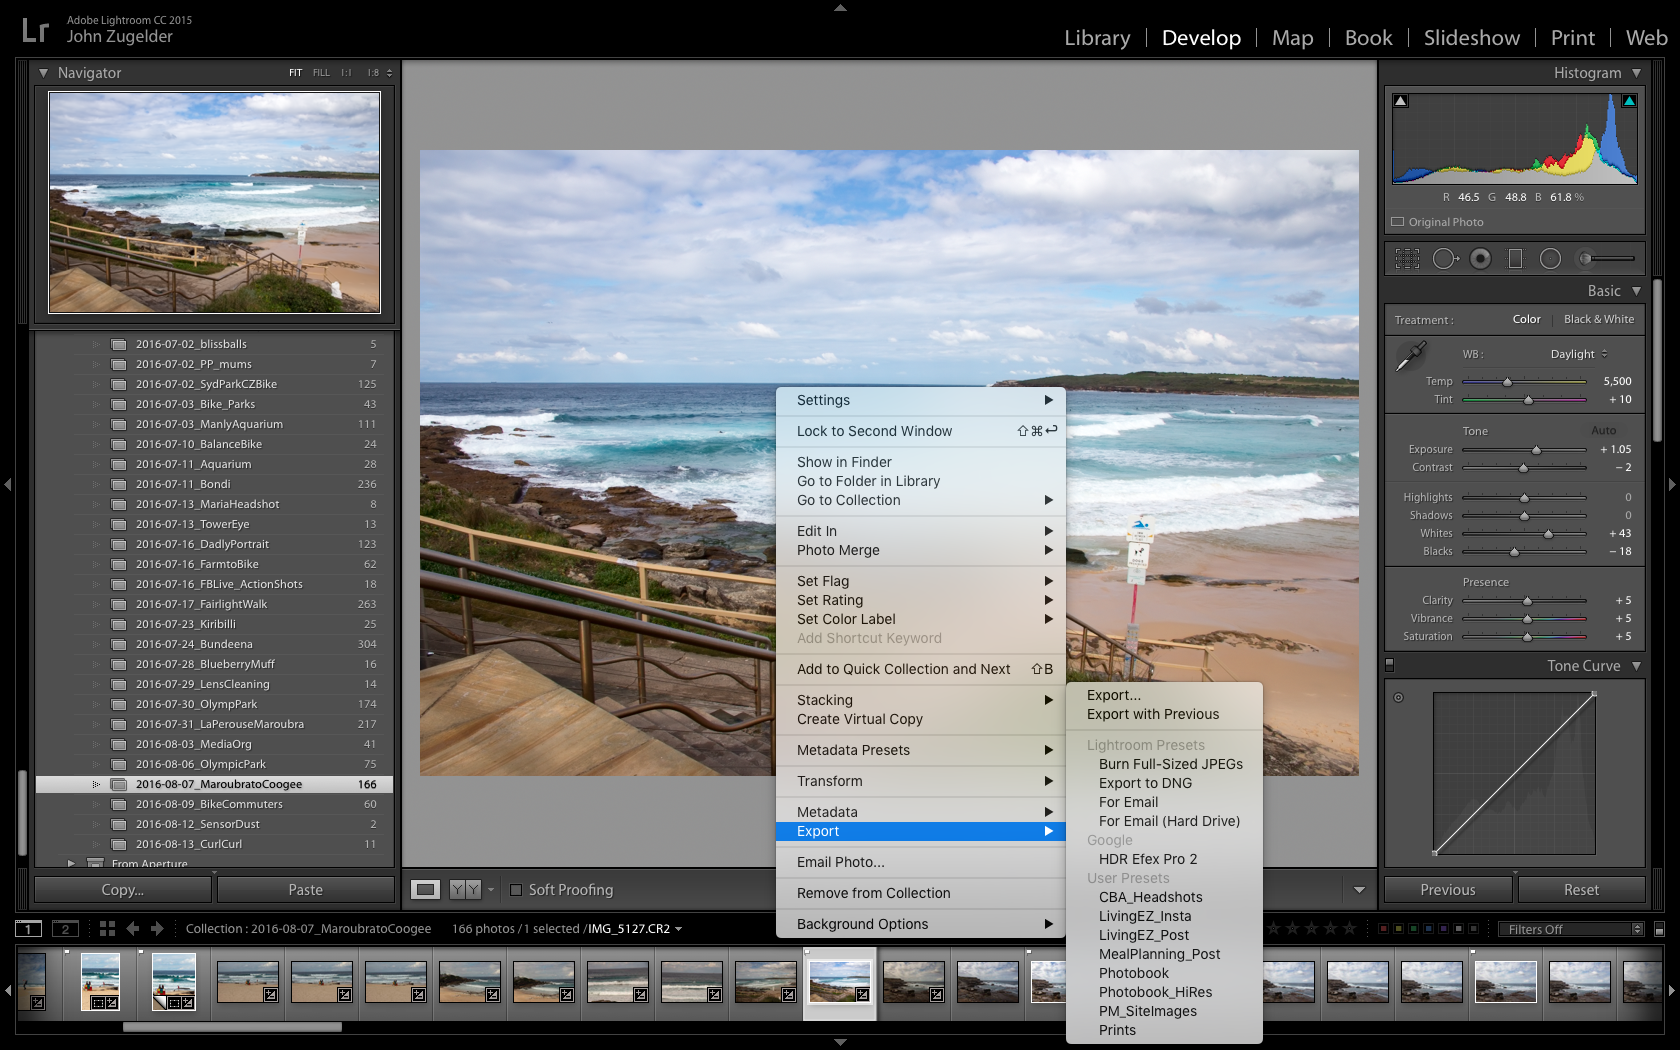
Thankfully, Lightroom has a handy spot removal tool, but we took hundreds of photos during the walk. Even though only 30 or so were worth editing, what you see below is only a fraction of the dust spots. The lighting and sky in each picture made different dust spots pop. I lost a lot of time to post-processing the images that wanted to use. Annoyingly there are always a few spots that seem to hide, until the photo makes its way to a draft version of a blog post or Facebook.
And, all processed:
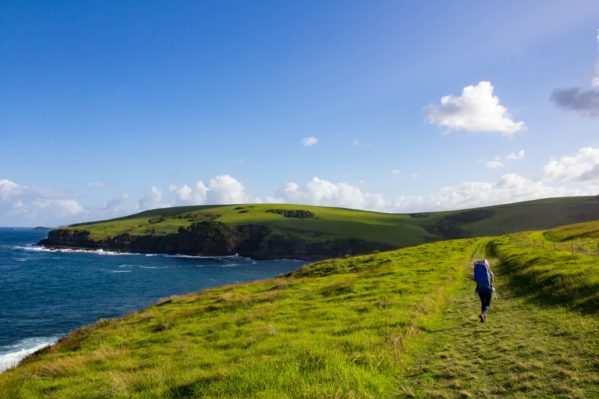
In the end, I am happy with my final image, but I would have saved myself a lot time, by simply sticking to the suggested regular maintenance of my camera. Most manufacturers’ recommendations are that you should clean your camera sensor glass annually. I did this for the first year, but when we moved to Australia, it dropped off for a year or two.
I know that there are resources for how to clean the sensor yourself. However, I prefer to save time, and money, by leaving it to the experts. I am overzealous with these things(read: obsessive perfectionist), and with my luck, would likely damage the mirror alignment, trying to clear the last speck of dust. I also don’t have a dust free room.
Lucky for me, we have a great shop here in Sydney, Five Star Camera Repairs, and they will clean the sensor for a reasonable price. We recently took two 60D bodies, and it was $40 for the newer, cleaner body and $70 for the body that took 500 test shots before it was clean. We found them by asking our local camera shop where they would send it for repair and cleaning.
Here are the before and after shots that he took to show us the dusty and clean sensors:
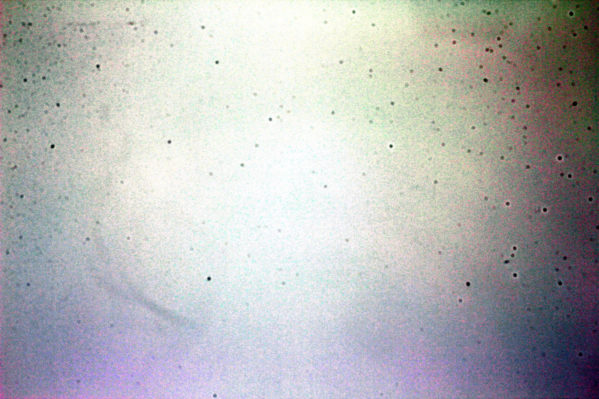
Before
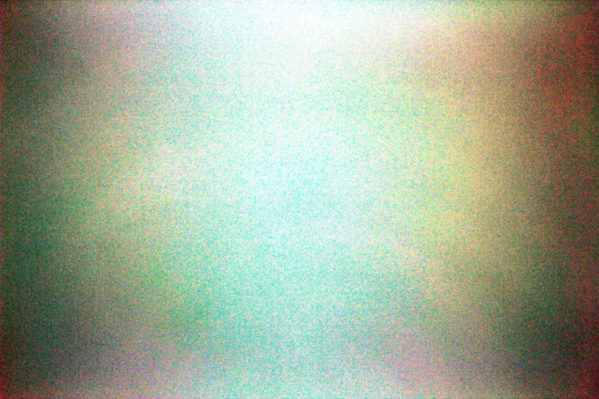
After
How to Check If You Need a DSLR Sensor Cleaning
To capture the photos, the tech at Five Star fired the camera body with no lens into a light box, and then used a super contrast preset make the dust pop out.
You can replicate this test at home in a few easy steps:
- Grab a white sheet of paper, or open Notepad / TextEdit full screen on your computer with an empty document so your screen is completely white.
- Set your camera to aperture priority mode (AV or A), with the aperture at 22 or higher and ISO at no more than 200
- Set the lens completely out of focus, and fire of a test shot of the paper or monitor.
- Take the photo into Lightroom, and take the contrast and dehaze sliders to 100, before raising the exposure level if necessary.
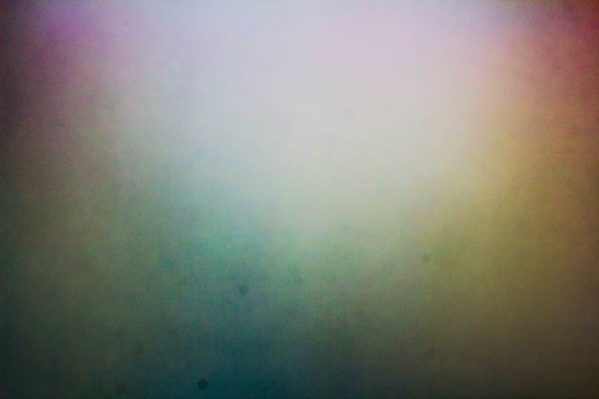
Laptop monitor with empty text pad window maximized
As you can see there are actually a few socks of dust on the sensor toward the bottom in the center of the image. Fortunately, these won’t cause too many problems with the photos we take, but I will keep track of them so I know when it is time to take the cameras in for another cleaning. Our favorite places to take pictures these days are windy and full of sand so we expect a bit more dust.
Let us know if you have any questions, or better yet, if you have any tips for preventing sensor dust.
One last note, we share some of our best tips and up to date camera news in our bimonthly newsletter. Make sure you sign up for our photo tips newsletter to gain access to our library of subscriber-only photo tutorials!


This is super useful for me because I have never ever cleaned a camera sensor in my life. Off to check out Five Star Camera Repairs! Thank you.
Thanks Seana, happy to help! It is the un-glamorous side of photography, but made such a huge difference in our photos!!