48 Easy Steps to Carry Your Children & Groceries By Bike (plus, a video!)
Doing anything methodically with a toddler can be quite challenging. It is a dance of leg tugging, running, and, if you’re lucky, choreographed to a chorus of laughter and the occasional scream of joy. When this show involves loading groceries on the bicycle it gets interesting quick. Luckily, from our experience living car free, we have put together a quick and easy 48 step process to load both your toddler and your groceries on the bike!
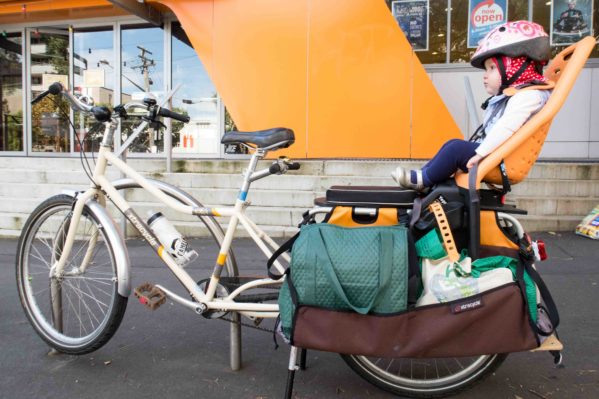
48 Simple Steps to Carry Your Children and Groceries By Bike (plus a video!)
- Put a few raisins in your pocket (these are for later)
- Pack the bags so you will have even weight on both sides of the bicycle
- Leave the store carrying groceries and trying to hold your toddlers hand
- Start walking towards your bike
- Turn around and follow your child towards the dog walking the other direction
- Reorient your path back towards the bike
- Pause and regroup before tackling the steps down to the bike
- Now count “1…2….3…JUMP!”
- Hope you don’t drop any of the bags, while making sure your toddler safely hop-skip-jump-hobbles off the step
- Repeat steps 7 through 9
- Repeat steps 7 through 9
- Repeat steps 7 through 9
- Phew, you survived three steps! Put down the bags and wipe off the sweat that is rolling into your eyes
- Stop abruptly as a shiny wrapping attracts your toddler on the sidewalk
- Prevent your toddler from eating it without hitting him or her in the head with swinging bags
- Set down your bags
- Fetch the emergency hand sanitizer you always keep in your pocket now that you’re the proud parent of an inquisitive toddler
- Sanitize hands
- Question your sanity
- Use your legs to keep your toddler still for a moment while you pick up the bags and take her hand again
- Three steps away from the bike – you are so close! She spots a tree with roots that are perfect for jumping off.
- She enjoys a few more rounds of assisted jumping before you can lead her back on the path towards the bike.
- OMG, you made it to the bike!!!!!
- Set down the bags on either side of the bike so that the weigh will be evenly distributed
- Try to engage your toddler with the pedals, water bottle and cage, or the wheel
- Proceed to load bags,
- Stop loading bags to bring the wandering toddler closer to the bike
- Distract toddler with the pedals, water bottle and cage, or the wheel
- Continue loading the bags
- Stop loading bags and whisk her away from an unrecognizable (but still enticing) piece of food on the sidewalk
- Distract and lure her back to the bike with raisin
*Note you have to be quick now, as the raisins have to get you through the straps and the helmet - Finish loading the last bag. Now on to loading the little person
- Offer another raisin
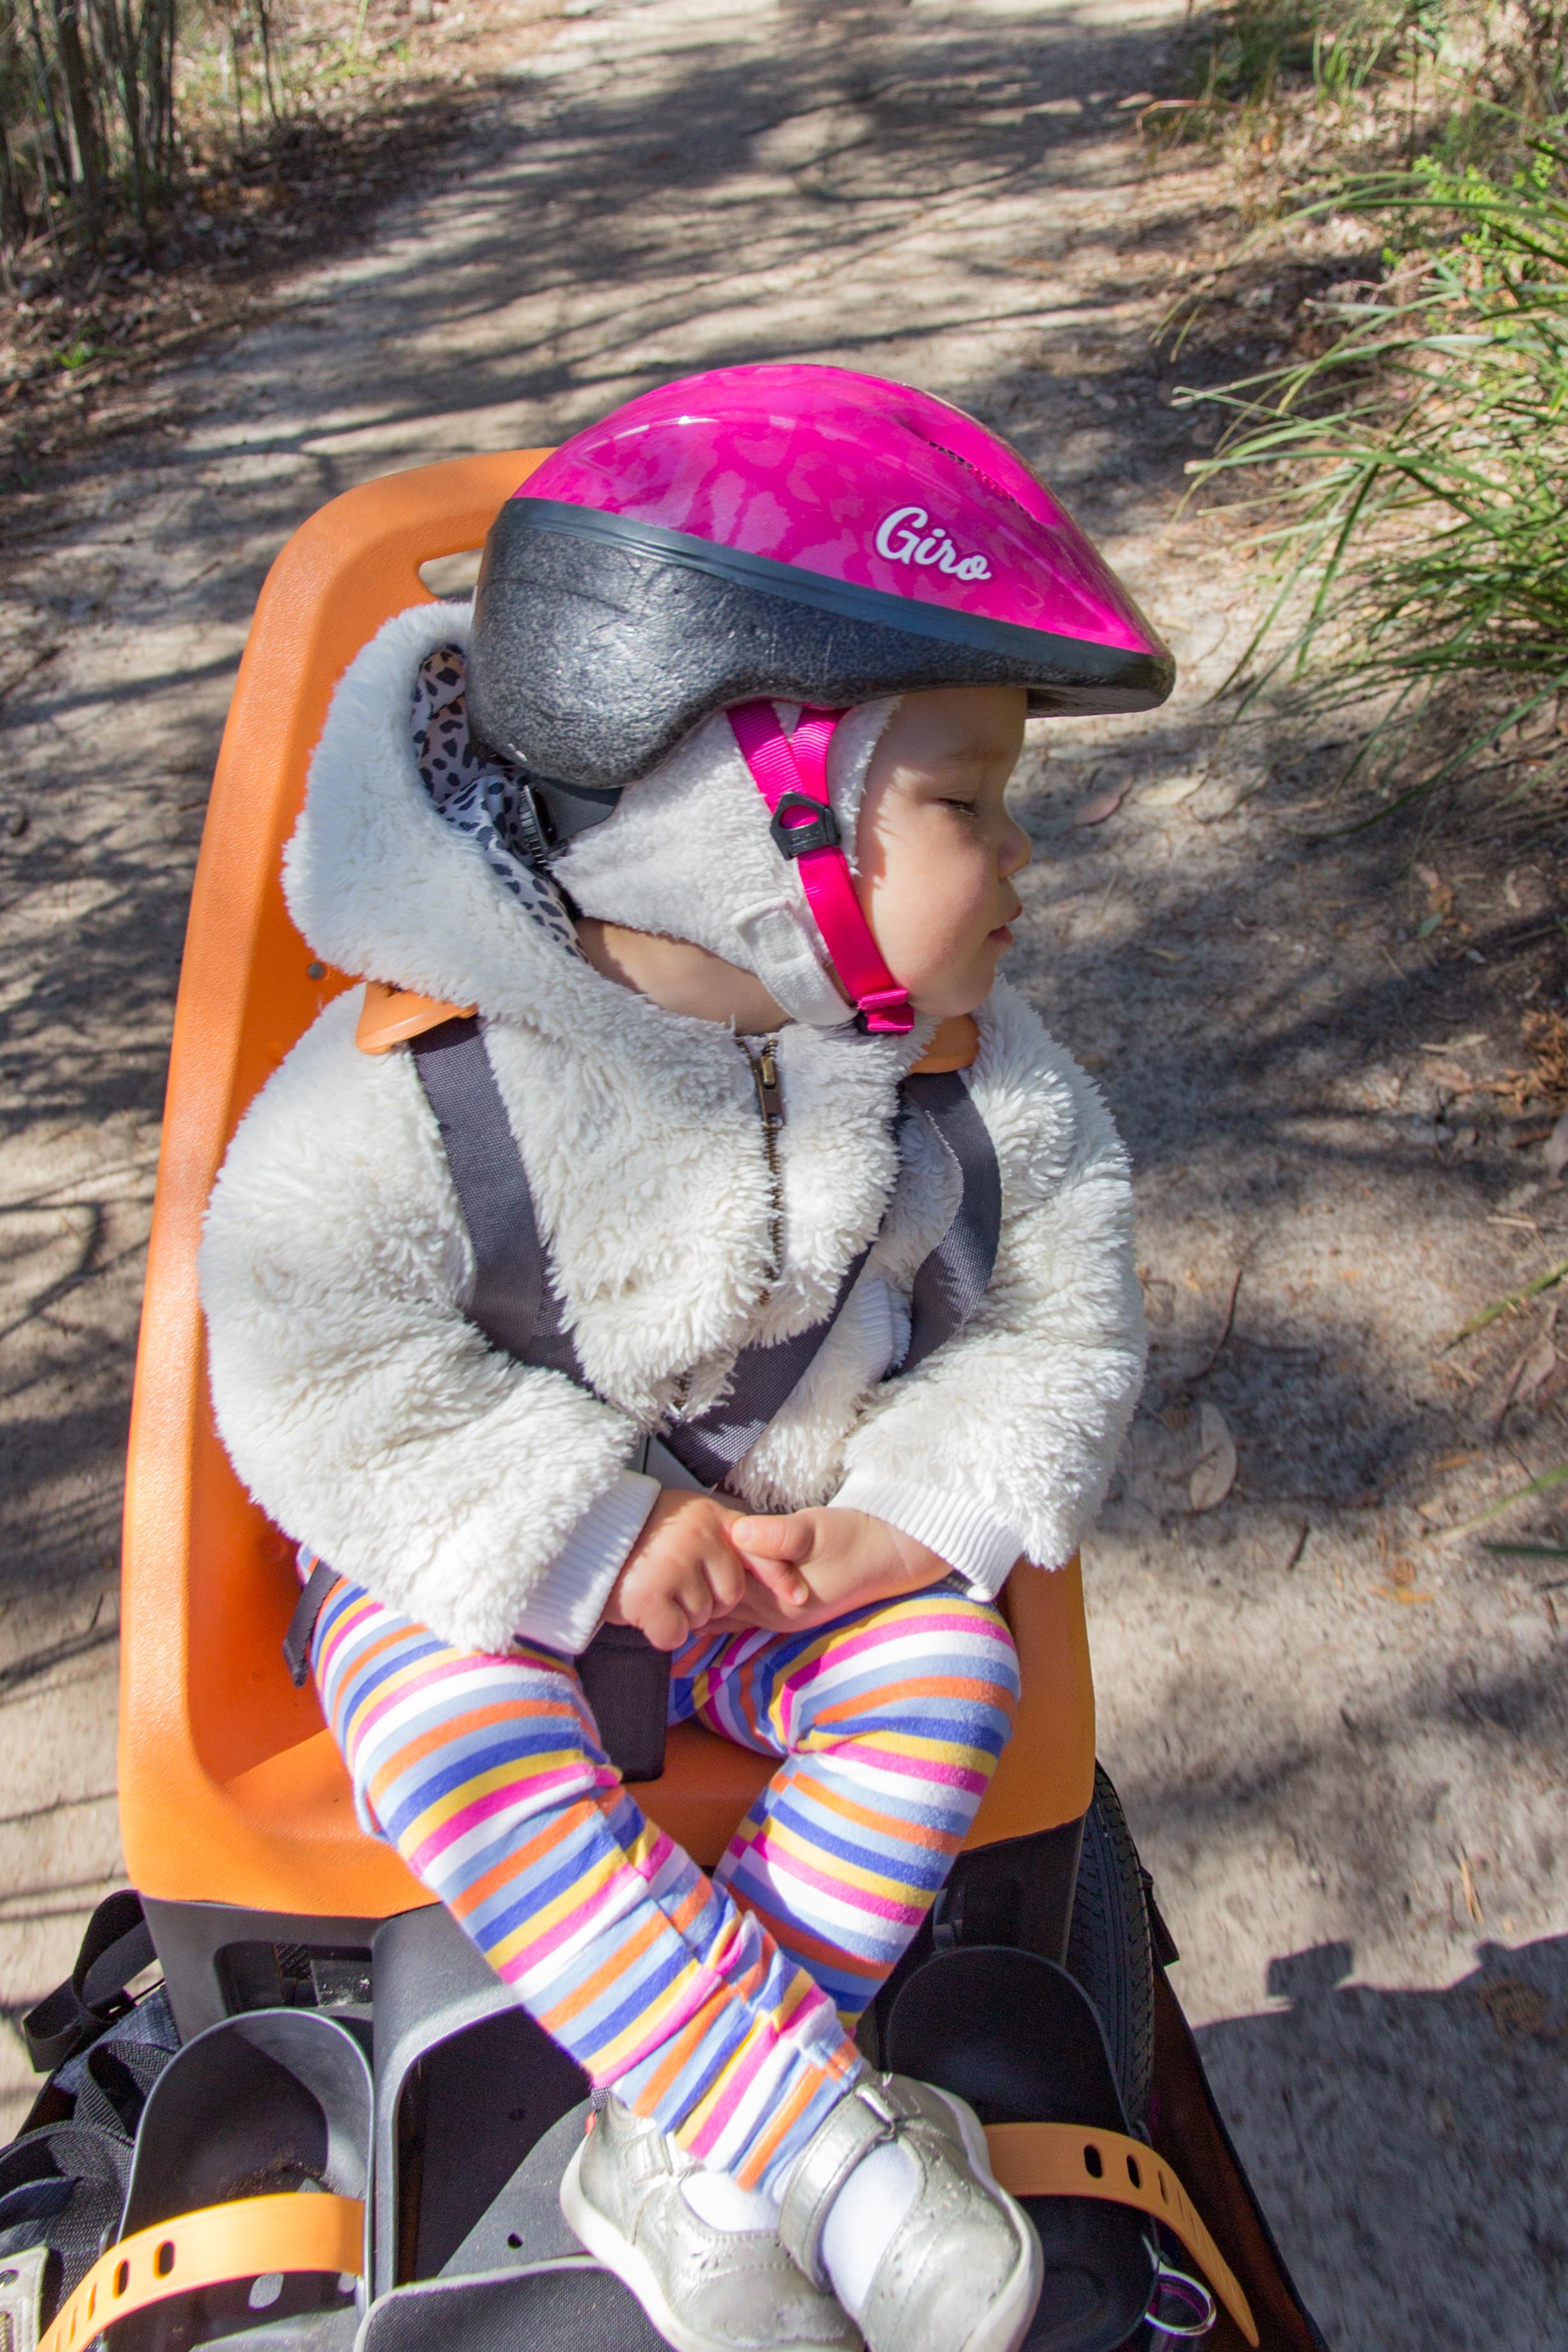
- Place toddler in seat
- Offer another raisin
- Fasten straps
- Offer another raisin
- Toddler spies the helmet you are grabbing and says “No, hat!”. Prepare yourself.
- Place helmet on her head
- Toddler removes helmet
- Trade 4 raisins in exchange for a 3 second window in which to place the helmet on her head
- Deftly place helmet on toddler’s head
- Fasten chin strap quickly
- Tighten chin strap
- Double check helmet and chair straps
- Put on your helmet
- Release the kickstand
- You are ready to ride!
In all seriousness, it rarely takes all 48 steps to carry your children and groceries by bike. We all have techniques for engaging our little ones, and sometimes she will be very interested in spinning the front wheel, and I am also able to avoid the raisins bribes for most of the ride. Other times she will loudly protest the injustice of her captivity, and make me feel like a terrible parent for insisting that we need to purchase food for the week instead of letting her run free. We load our bikes in a pedestrian area with a decent buffer from the road, so that we can keep a better eye on CZ. When both of us go to the store, it is significantly easier to divide the workload so that one person is responsible for CZ while the other person packs.
As for the actual loading process, it is all about weight distribution. The Xtracycle has a wide double-legged kickstand that is extremely stable so the bike does not tip, when loaded properly. There is an attachment to make the legs wider and more stable, but I have not purchased it or made my own so even though it makes for a little more work, I always put CZ on the bike last. f there is a lot of weight on one side of the bike and she shifts that direction, the bike may tip, but when the bags are lighter or the bike is fully loaded, I don’t have to worry about gravity bringing the whole thing down.
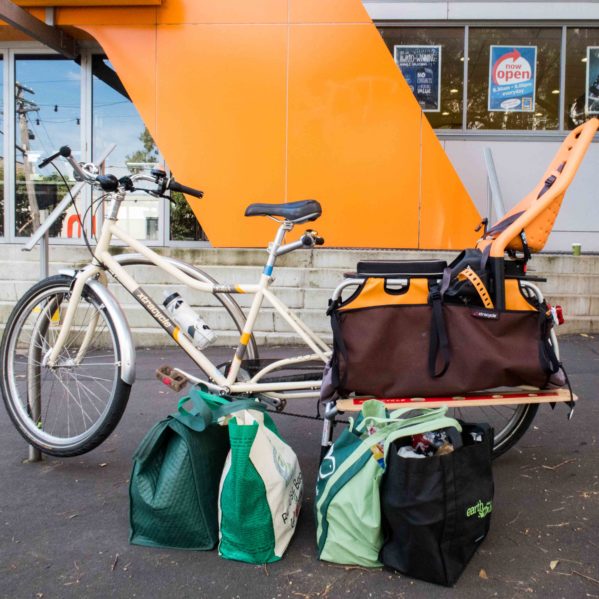
This is why I purposely pack bags in Aldi so I end up with roughly the same weight on each side of the bike. Typically, we have 4 canvas grocery bags, 2 heavy and 2 lighter ones. Then I load 1 heavy on each side, followed by 1 light one on each side. This helps keep the bike stable at stoplights, where the tipping risk is highest. There is definitely some counterbalancing required through sharp turns, but rolling bikes prefer to stay upright. It is standing still at the stoplight, or having to walk the bike for a short stretch, where having too much weight one side makes it difficult.
I hope this was helpful to other parents looking to ride more with their young children. As CZ gets older, we often wonder how we will cope with the new advances in her abilities (walking, running, jumping, taking off her helmet). Luckily, things have a way of working out and we generally manage to have some sort of system in place as she transitions from one phase to another. The next phase I’m most excited about is her riding on a bike by herself, which EZ will talk about next week!
Cute😳👏