Panning Photography: The Ultimate Guide to Capturing Motion
With basic technical camera skills mastered (choosing the right ISO, aperture, and shutter speed), I enthusiastically venture into artistic photography techniques.
My latest obsession? Panning photography.
Panning photography involves focusing on a moving object, while moving the camera to create blurred motion in the background. Our favorite outdoor activities involve lots of movement, so panning photography is good skill to acquire. This technique produces the opposite effect of a long shutter speed. Instead of blurred subjects with a focused background, the subjects are in focus while the background is blurred. While certain elements of panning are easier with a DSLR, all photos below are taken with our Canon Powershot G7X point-and-shoot camera.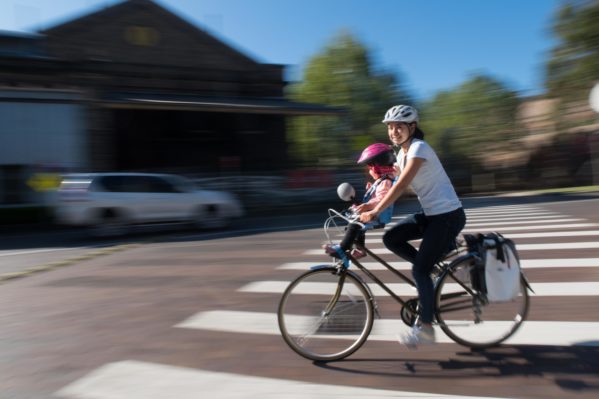
The Mechanics of Panning Photography
The ideal setup to start practicing these shots is to find a path or stretch of road with potential subjects moving through at a relatively consistent pace. In order to gain sufficient practice, I setup parallel to a city street in Sydney’s CBD at rush hour.
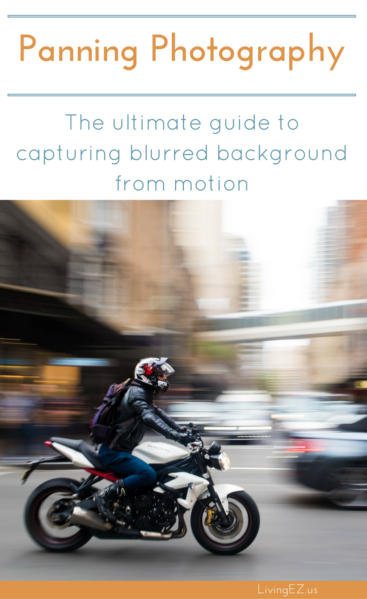
Immediately below is one of my early attempts. Notice how the rider is in focus, and you get the sense that he is riding through the frame. However, you can also see the subject is cock-eyed and the background is out of focus, rather than streaked from motion.
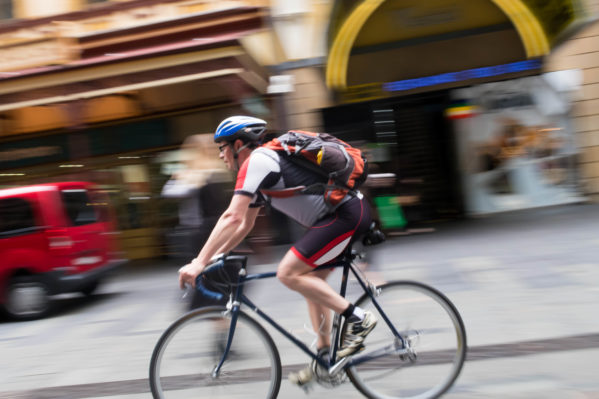
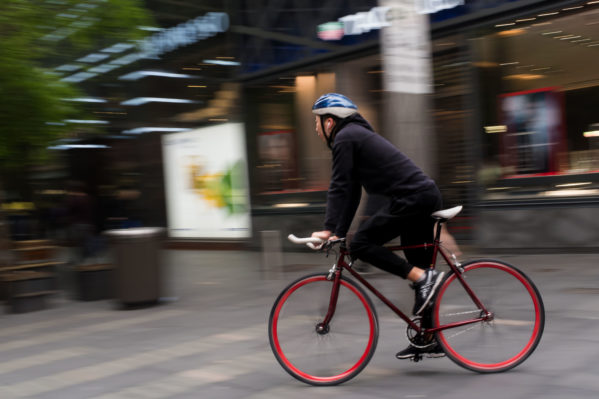
When the mechanics of your movement with the camera are correct, the background will have horizontal streaks that better convey the movement. Here is how you achieve that:
- Stand with your feet hips / shoulder width apart, and engage your core.
- Hold your elbows in against your torso.
- Keep the camera level with your subject.
- Twist right / left using your core to begin tracking your subject in the frame
- As your subject enters the frame, press the shutter half-way, and twist the the opposite direction, while keeping the subject in the frame.
- When your subject is directly in front of you, press the shutter to fire off the shot.
- Follow through with your twisting motion as the subject passes
I know this is a long list of steps for an action that happens in an matter of seconds, but unless you are using a monopod, they are critical. Having your feet hips / shoulder-width apart provides stability at your base, and engaging your core to twist keeps the camera steady and level enough to pull off the shot. Holding your elbows in provides additional stability and reduces the shakiness that comes with holding any object at arms length. Obviously, if you will be taking a lot of panning shots the monopod becomes more enticing, otherwise it’s a nice-to-have, not a need-to-have.
 Camera Settings For Panning Photography
Shutter – This is the critical setting. With something like a bicycle or slow traffic, start with a shutter speed of 1/30, and then adjust accordingly. For a jogger, you may go a little slower even, and for a race car, you will definitely go higher. The length of your zoom and distance from the subject both impact this setting.
ISO – I prefer to leave mine in Auto because then I don’t need to worry about cloud cover or other changing shadows ruining my shot. If it is a perfectly clear day, I may set the ISO setting manually, and then adjust the aperture. Most cameras will let you set a max ISO for the camera to use in Auto, and I do recommend setting that cap. In fact, it is second on our G7X set-up guide.
Aperture – If you haven’t made the jump to full manual controls, then go with shutter-priority mode and don’t worry about the aperture. You choose the shutter, and the camera will do everything else.
However, if you want to practice the manual settings, leave the ISO in Auto, as mentioned, and slightly close the aperture (increase the number). A wider depth of field provides a better opportunity for grabbing your subject in focus, and the panning motion will create enough blur in the background.
Image Stabilization / Vibration Reduction – Turned on. You will create enough movement with the low shutter speed to get the streaks, and this will help your subject look sharp.
Auto-focus – Set the auto-focus mode to continuous focus, like AI Servo (Canon DSLR) or AF-C (Nikon). The G7X labels this setting continuous focus. Select a focus point on the screen, and when the subject enters, press the shutter half way, and your camera will keep the focus locked on the subject as you pan.
Manual Focus – When your subject will be the same distance from you every time you press the shutter, you can simply make sure everything in that spot will be sharp and in focus. Fire off a non-panning shot ensuring the correct focus, and then fully depress the shutter when the subject is in the correct location.
Panning Photography Tips
Distance – Make sure you have a enough space between you and the subject so your panning movement is unrestricted. Additionally, the further you are from the subject the slower they will appear to be moving, which makes it easier to track them as you pan.
Zoom – The more you zoom, the easier it is to streak the background. However, it is also more challenging to hold the camera stable and level.
“Aim small, miss small” – From sharp shooting to general life advice, this is a great tip. If you aim for a button, you will likely catch the shirt when you miss. Focus on your subject’s eye, and you should catch their face.
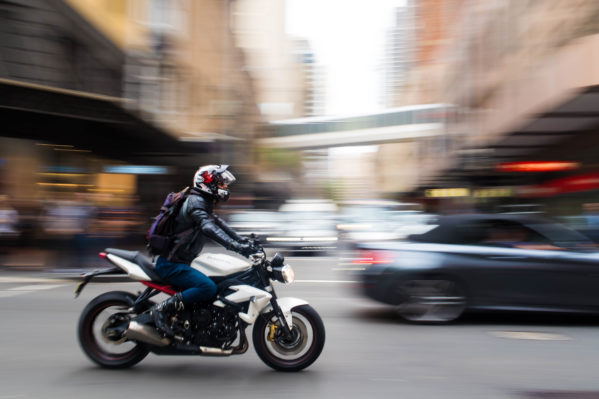
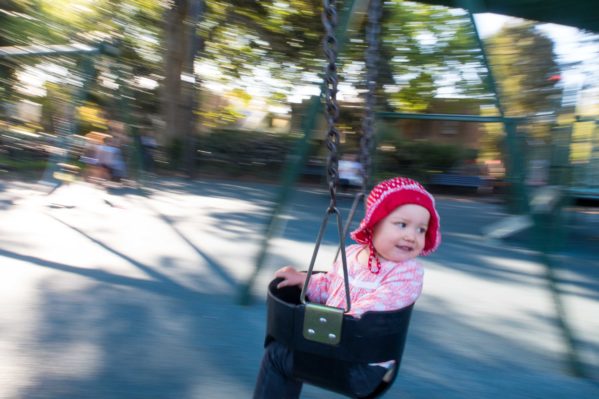
Practice and have fun! – After practicing on cars, motorcycles, and cyclists, I had a blast at the park trying to capture CZ in the swing. We all had a good time, and I like this shot of CZ on her favorite piece of park equipment.
Let us know if you have questions or additional tips, and don’t forget to pin this for future reference.
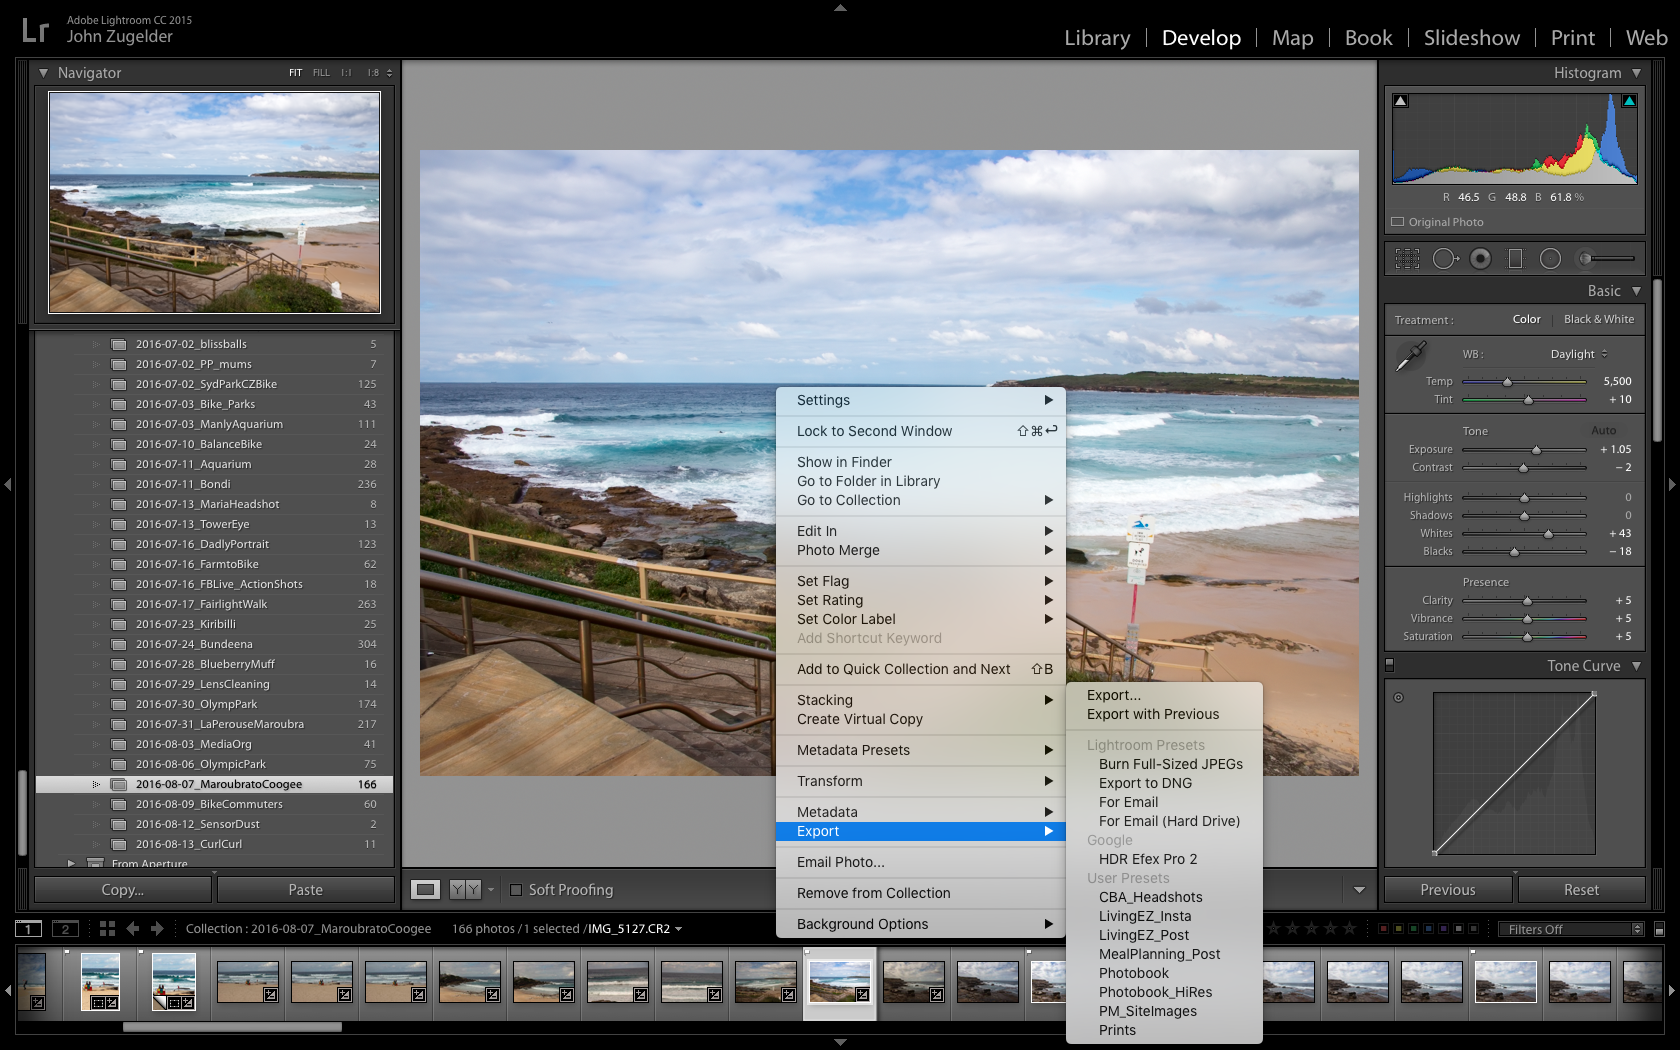
As a bonus, I put together a 5 minute video on how to edit panning photography shots. This Lightroom technique makes your photos pop!
Subscribe to our email list for the RAW motorcycle image so you can practice this technique without actually having to take the shots, and our biweekly photography newsletter!



WOW guys this is an amazing feature thank you so much for sharing!!